Furniture like a closet, drawer and storage room – all of this belongs in a Camper Van, just small and compact but still with lots of room!
In Part 1/2 about the closet we already built the tall cabinet, lower cabinets and the worktop.
As a reminder and to better understand which elements we named what, here’s our drawing of the closet:

The upper cabinets (O1 and O2)
We built the two upper cabinets (O1 & O2) one at a time but screwed them together outside of the vehicle to then install them as one element.
Again, for the side walls of the upper cabinets we customized templates before copying them to our white HPL-coated Banova-plates. We made the pocket holes to mount the worktop with the Kreg Jig before deciding on the height of the shelves.
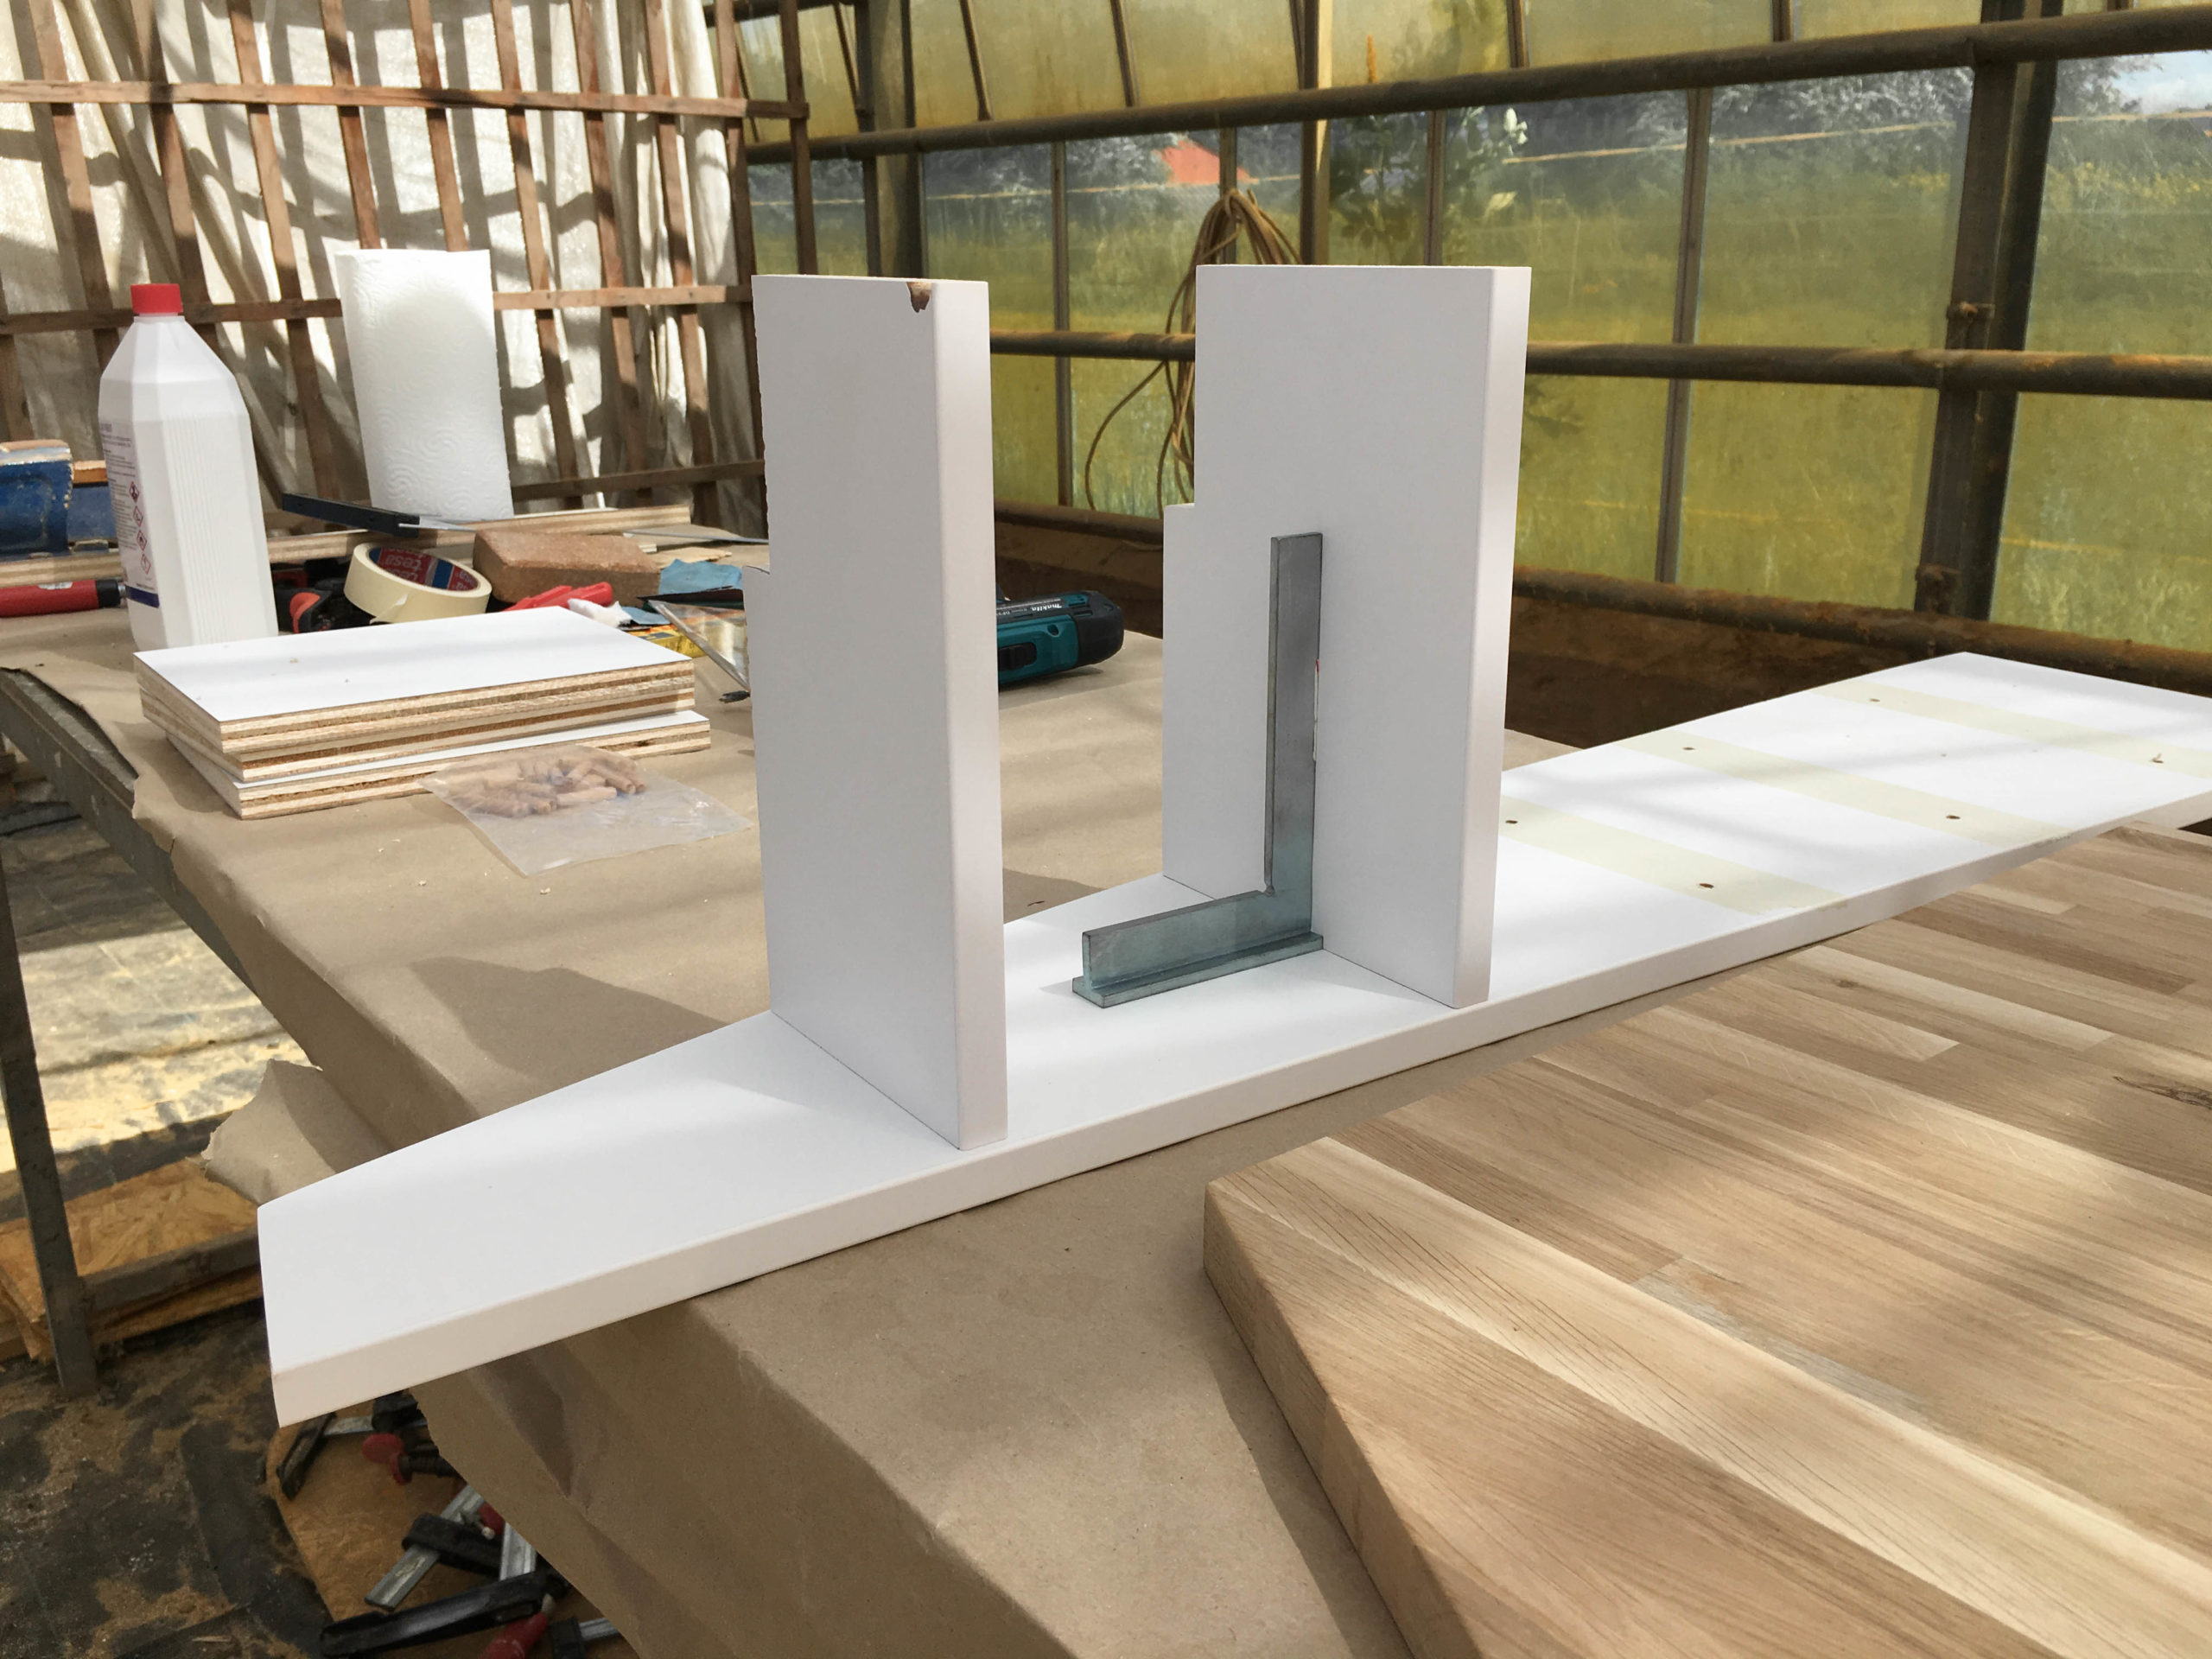
Because we did not want to screw through the side walls anymore, because the screw heads would be visible, we mounted the shelves with glue and wooden dowels. To do that we made the drilling for the dowels into the side walls and then used dowel setters to place the drilling for the shelf.

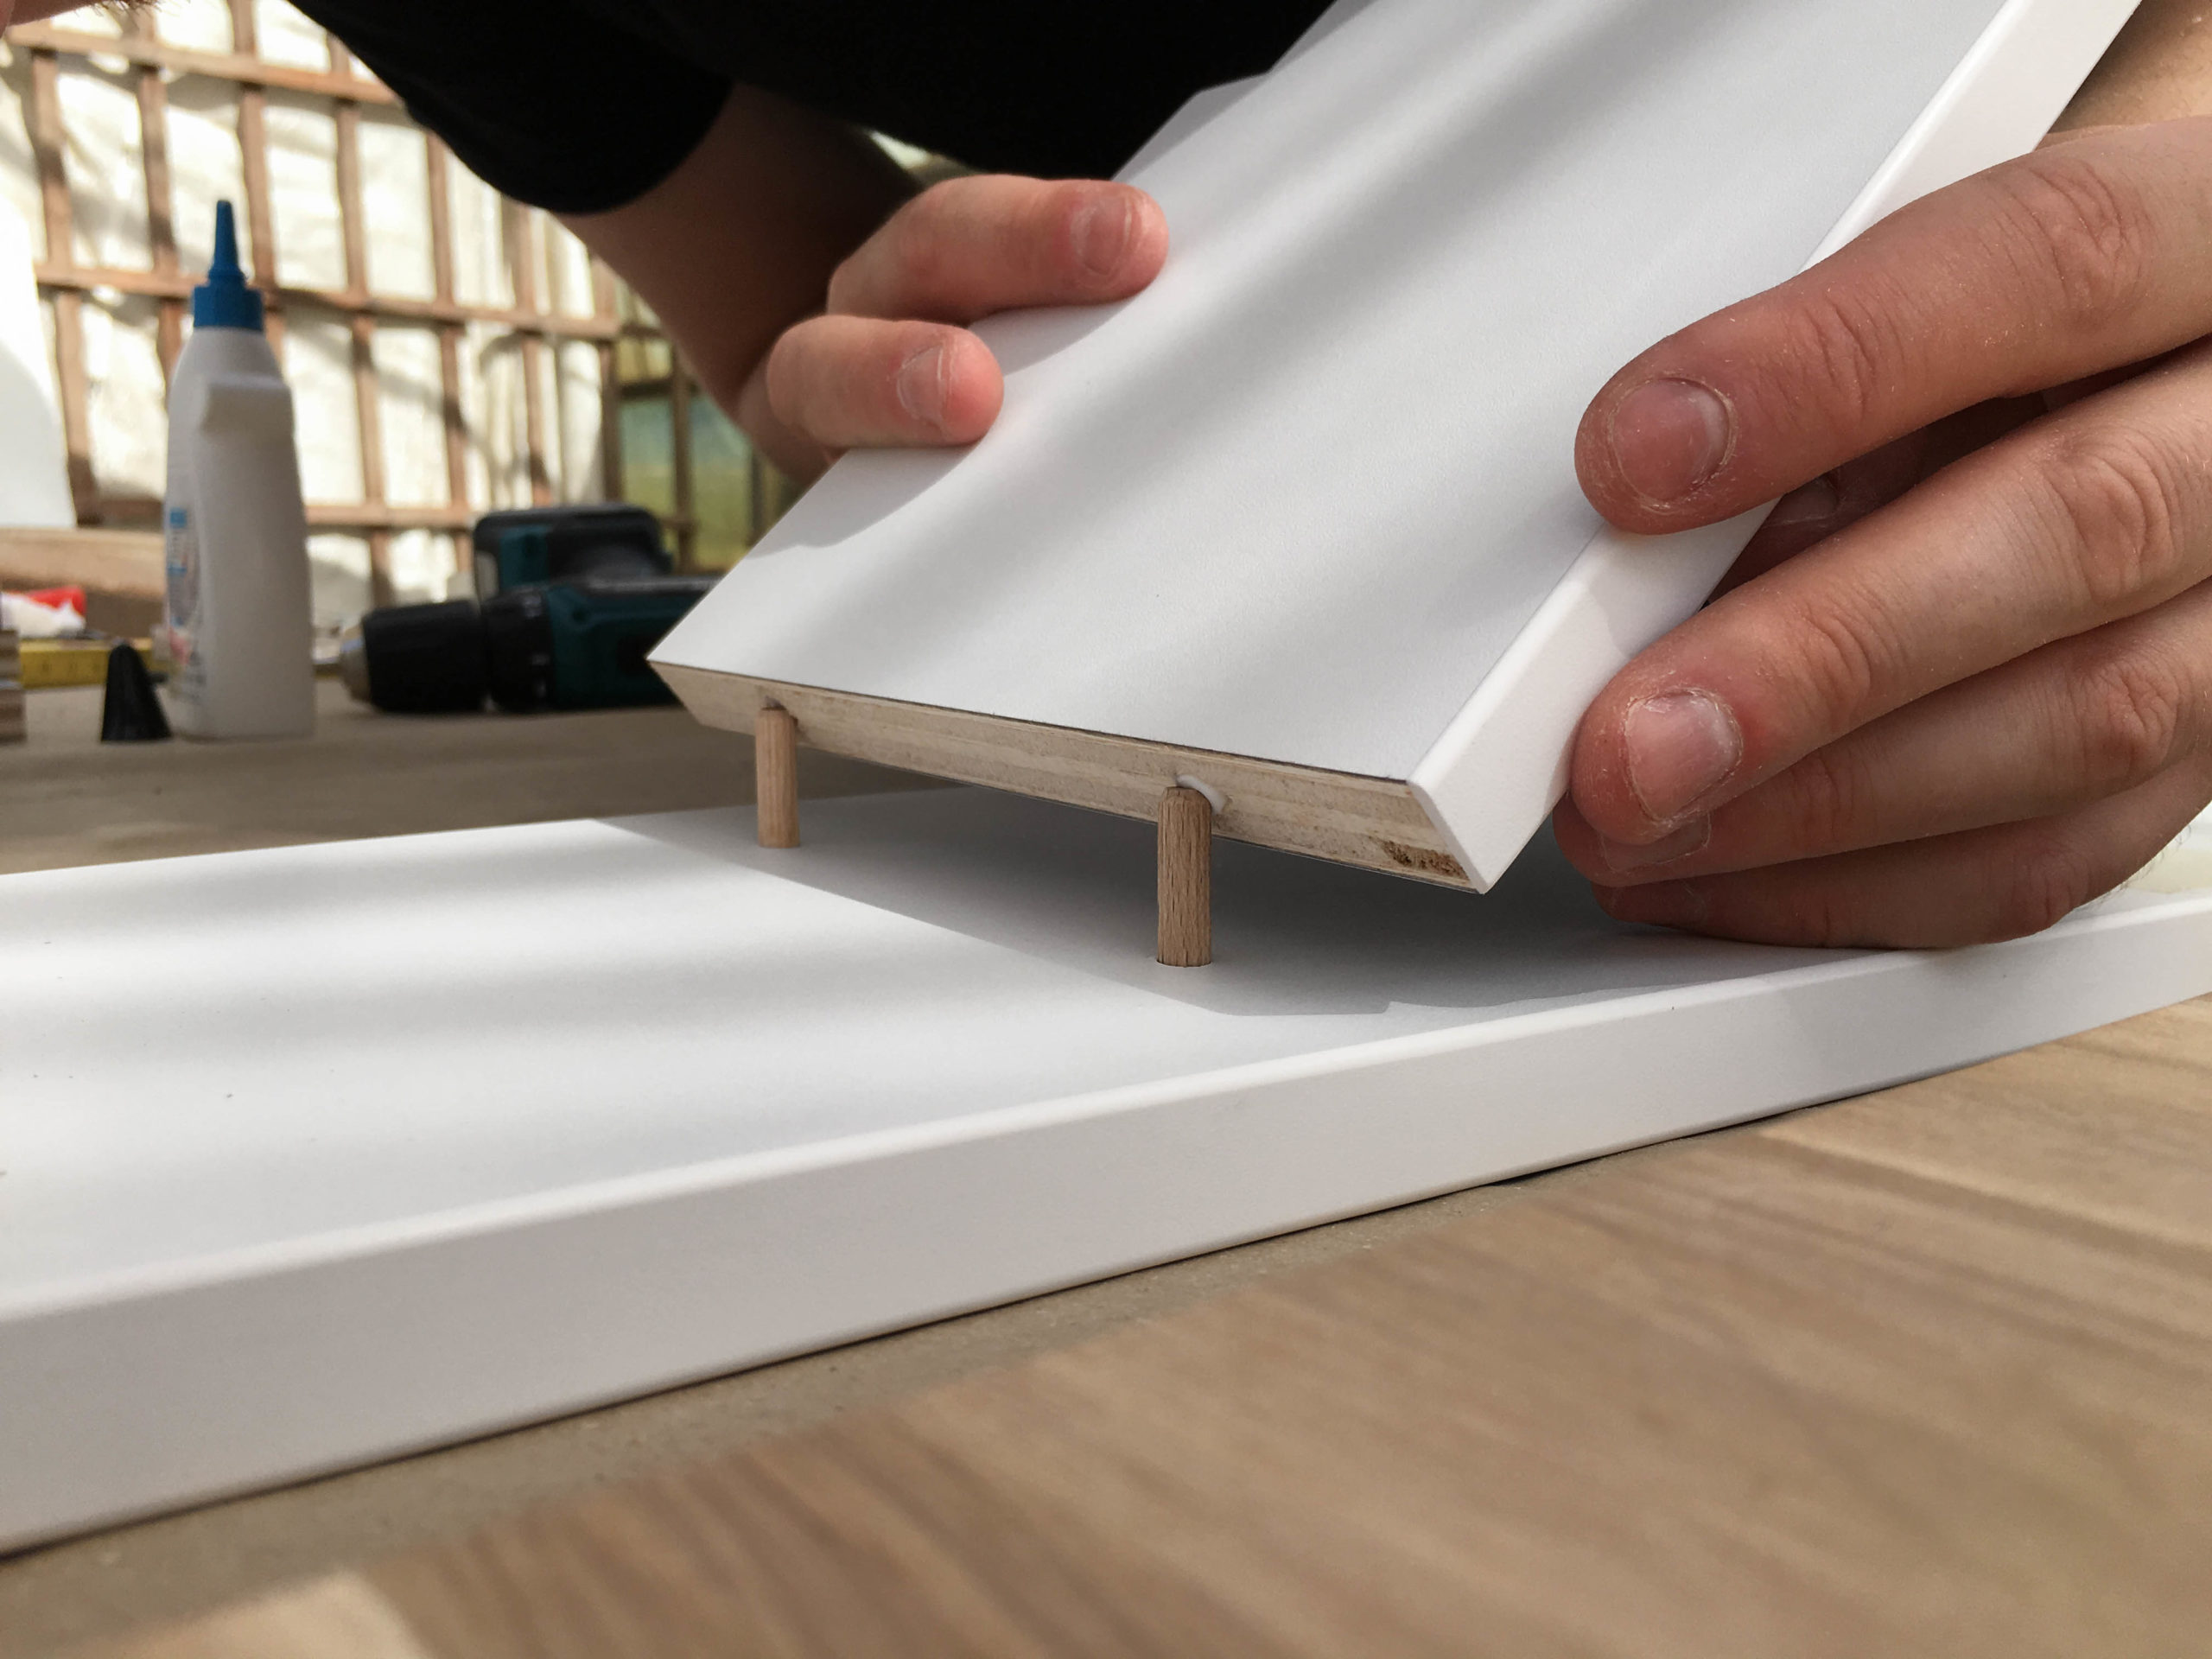
Then we aligned the selves with a 90° angle.
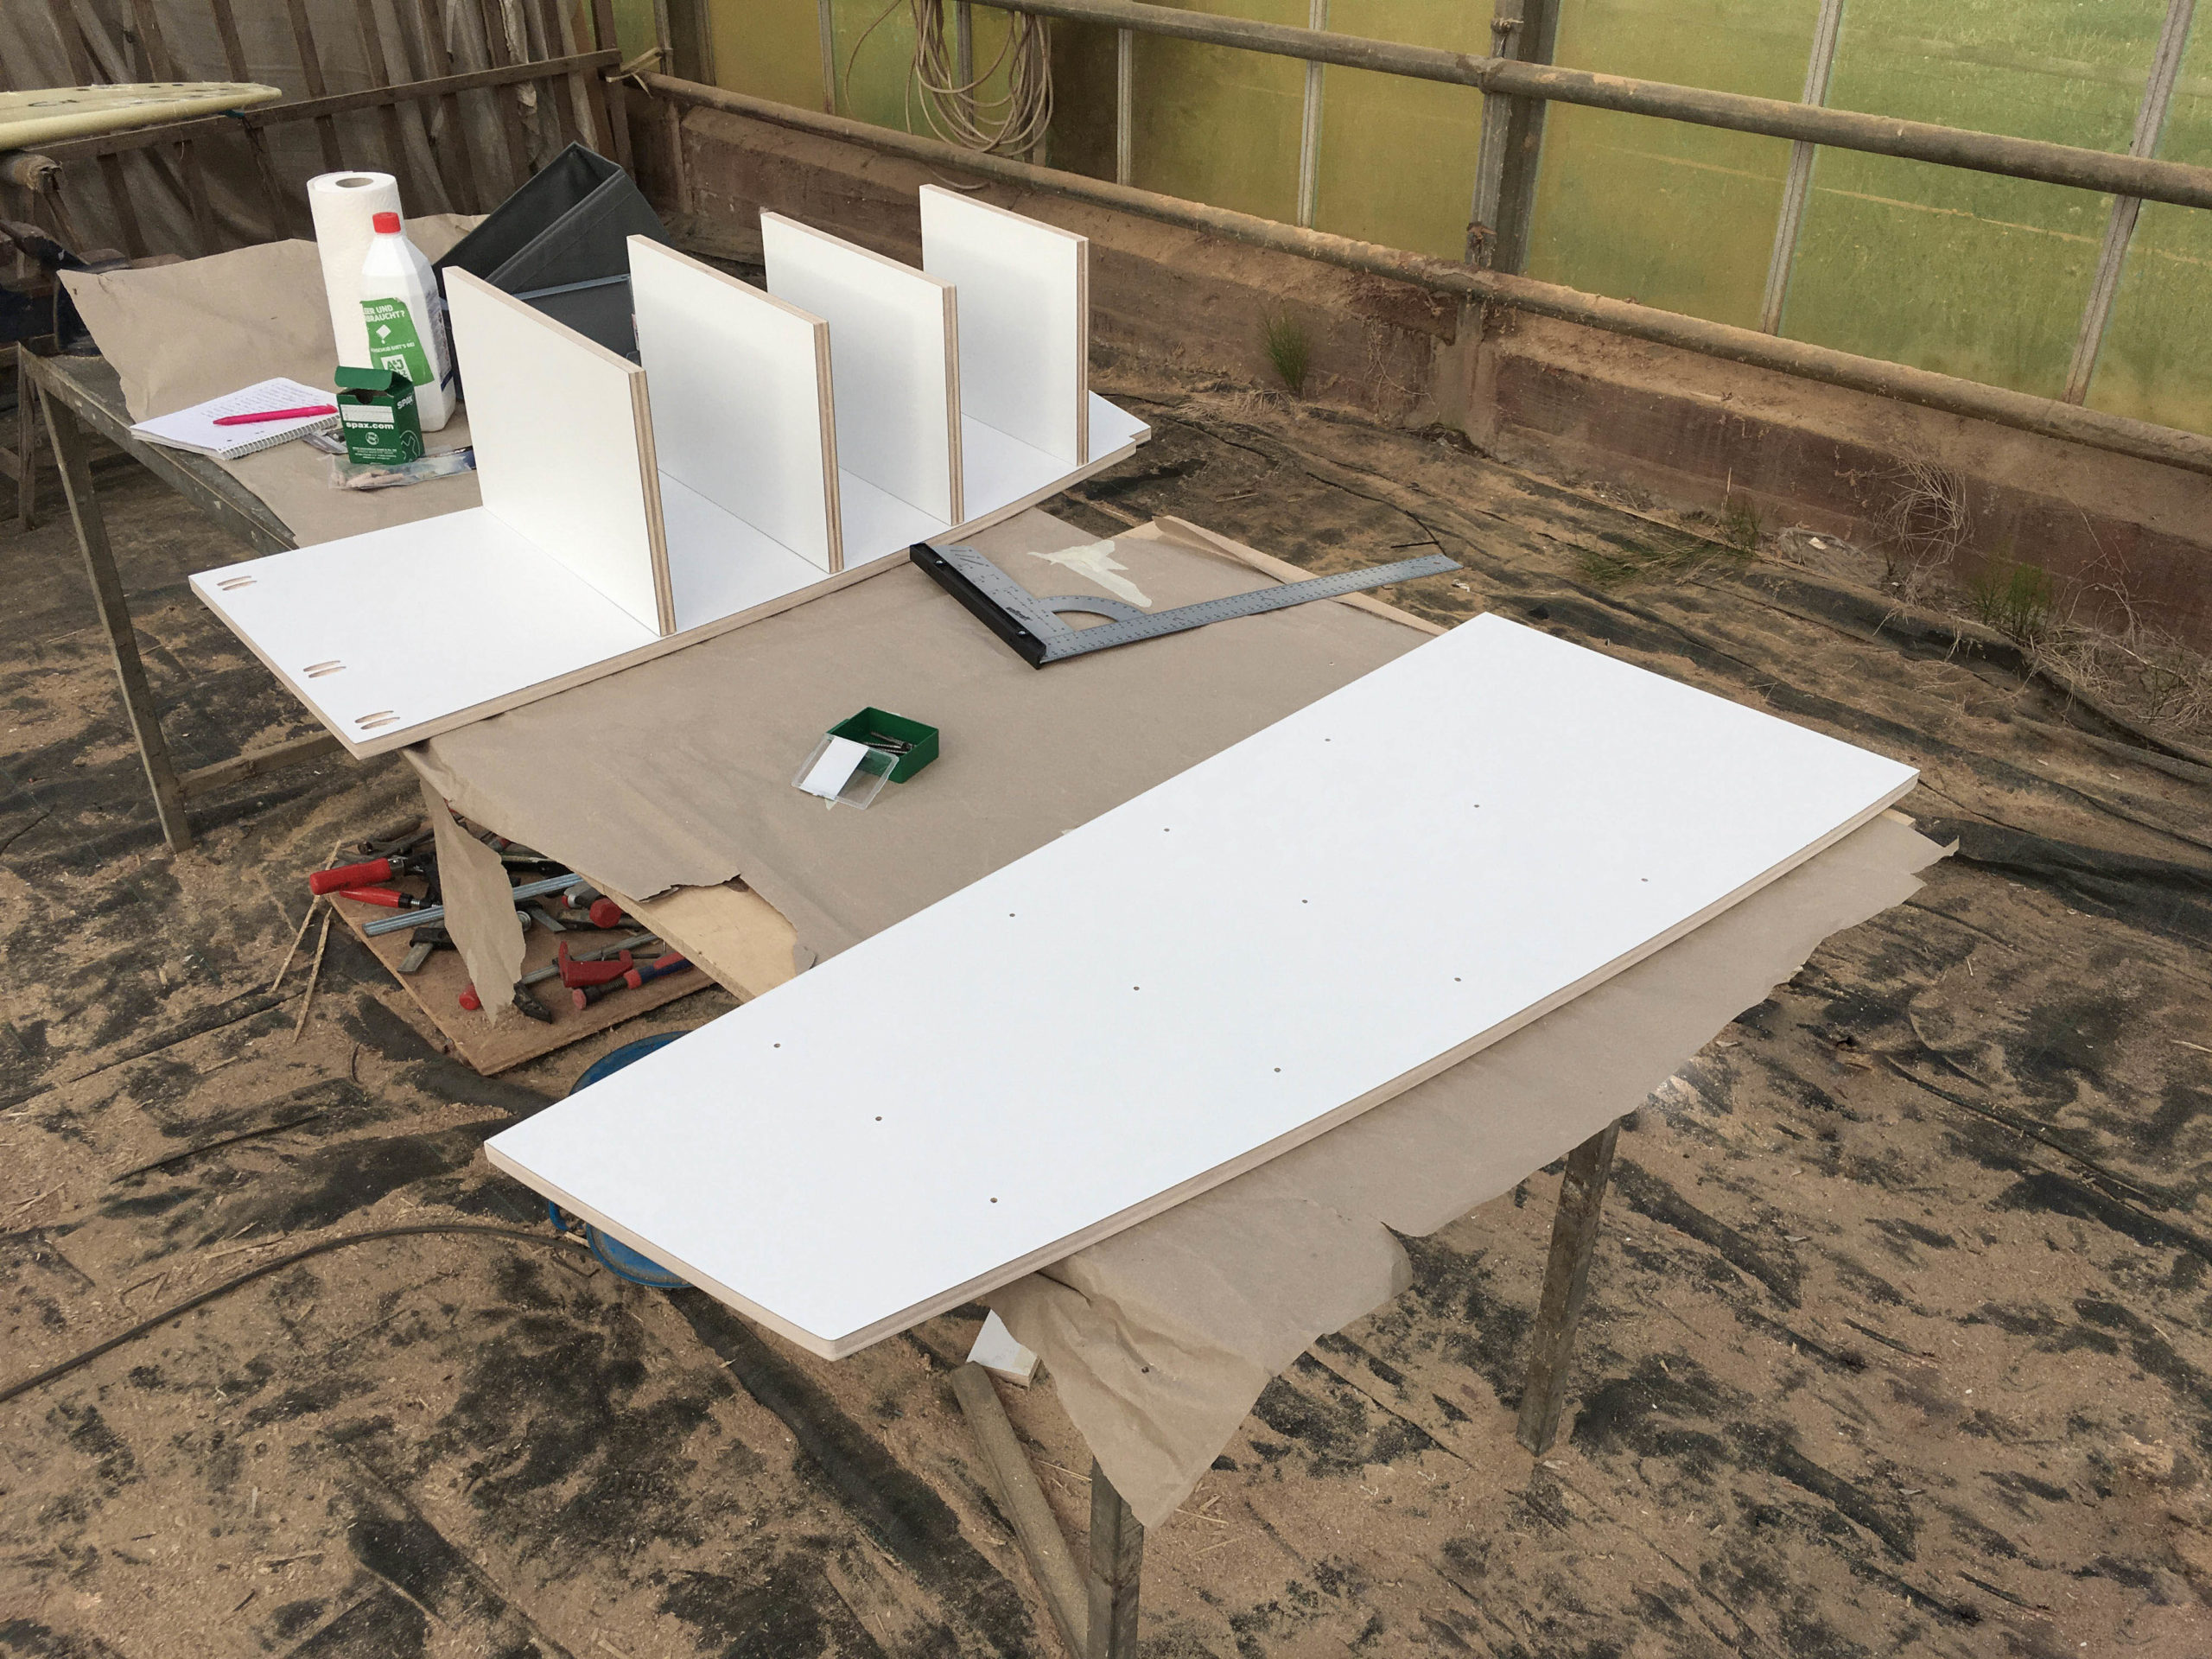
After all shelves were mounted we set the cabinets upright and until the glue was dry we stabilized it with clamps.
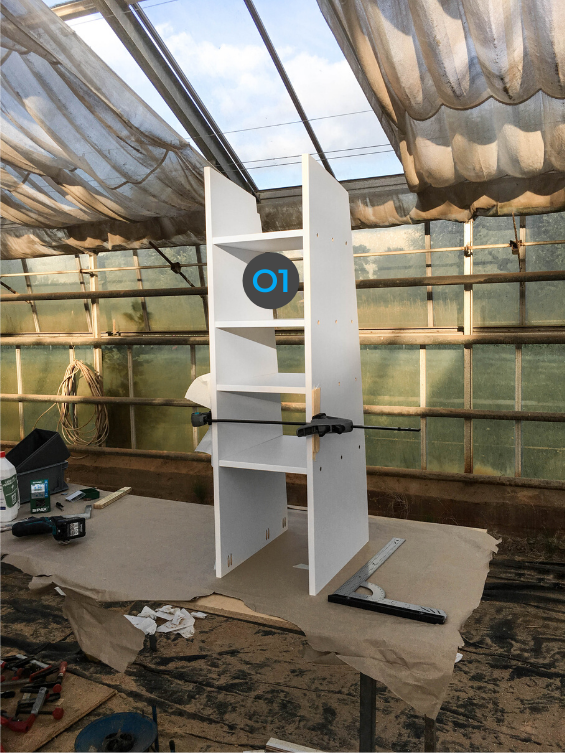
Then, after an appropriate drying time, the cabinets were standing tall on their own 😉

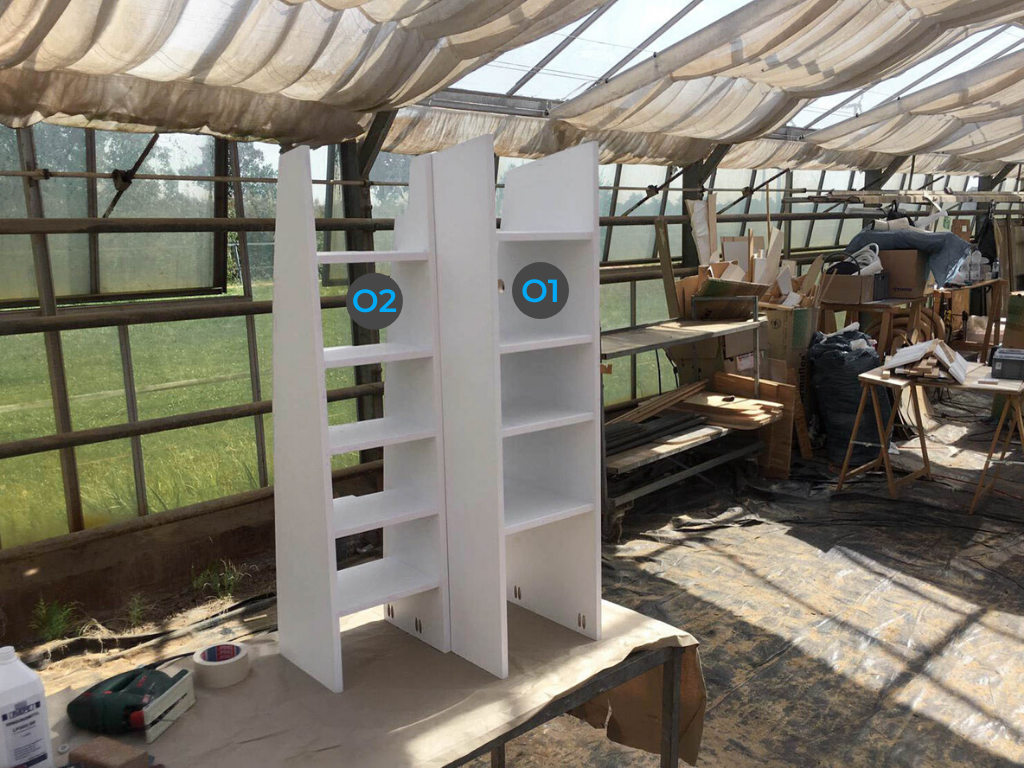
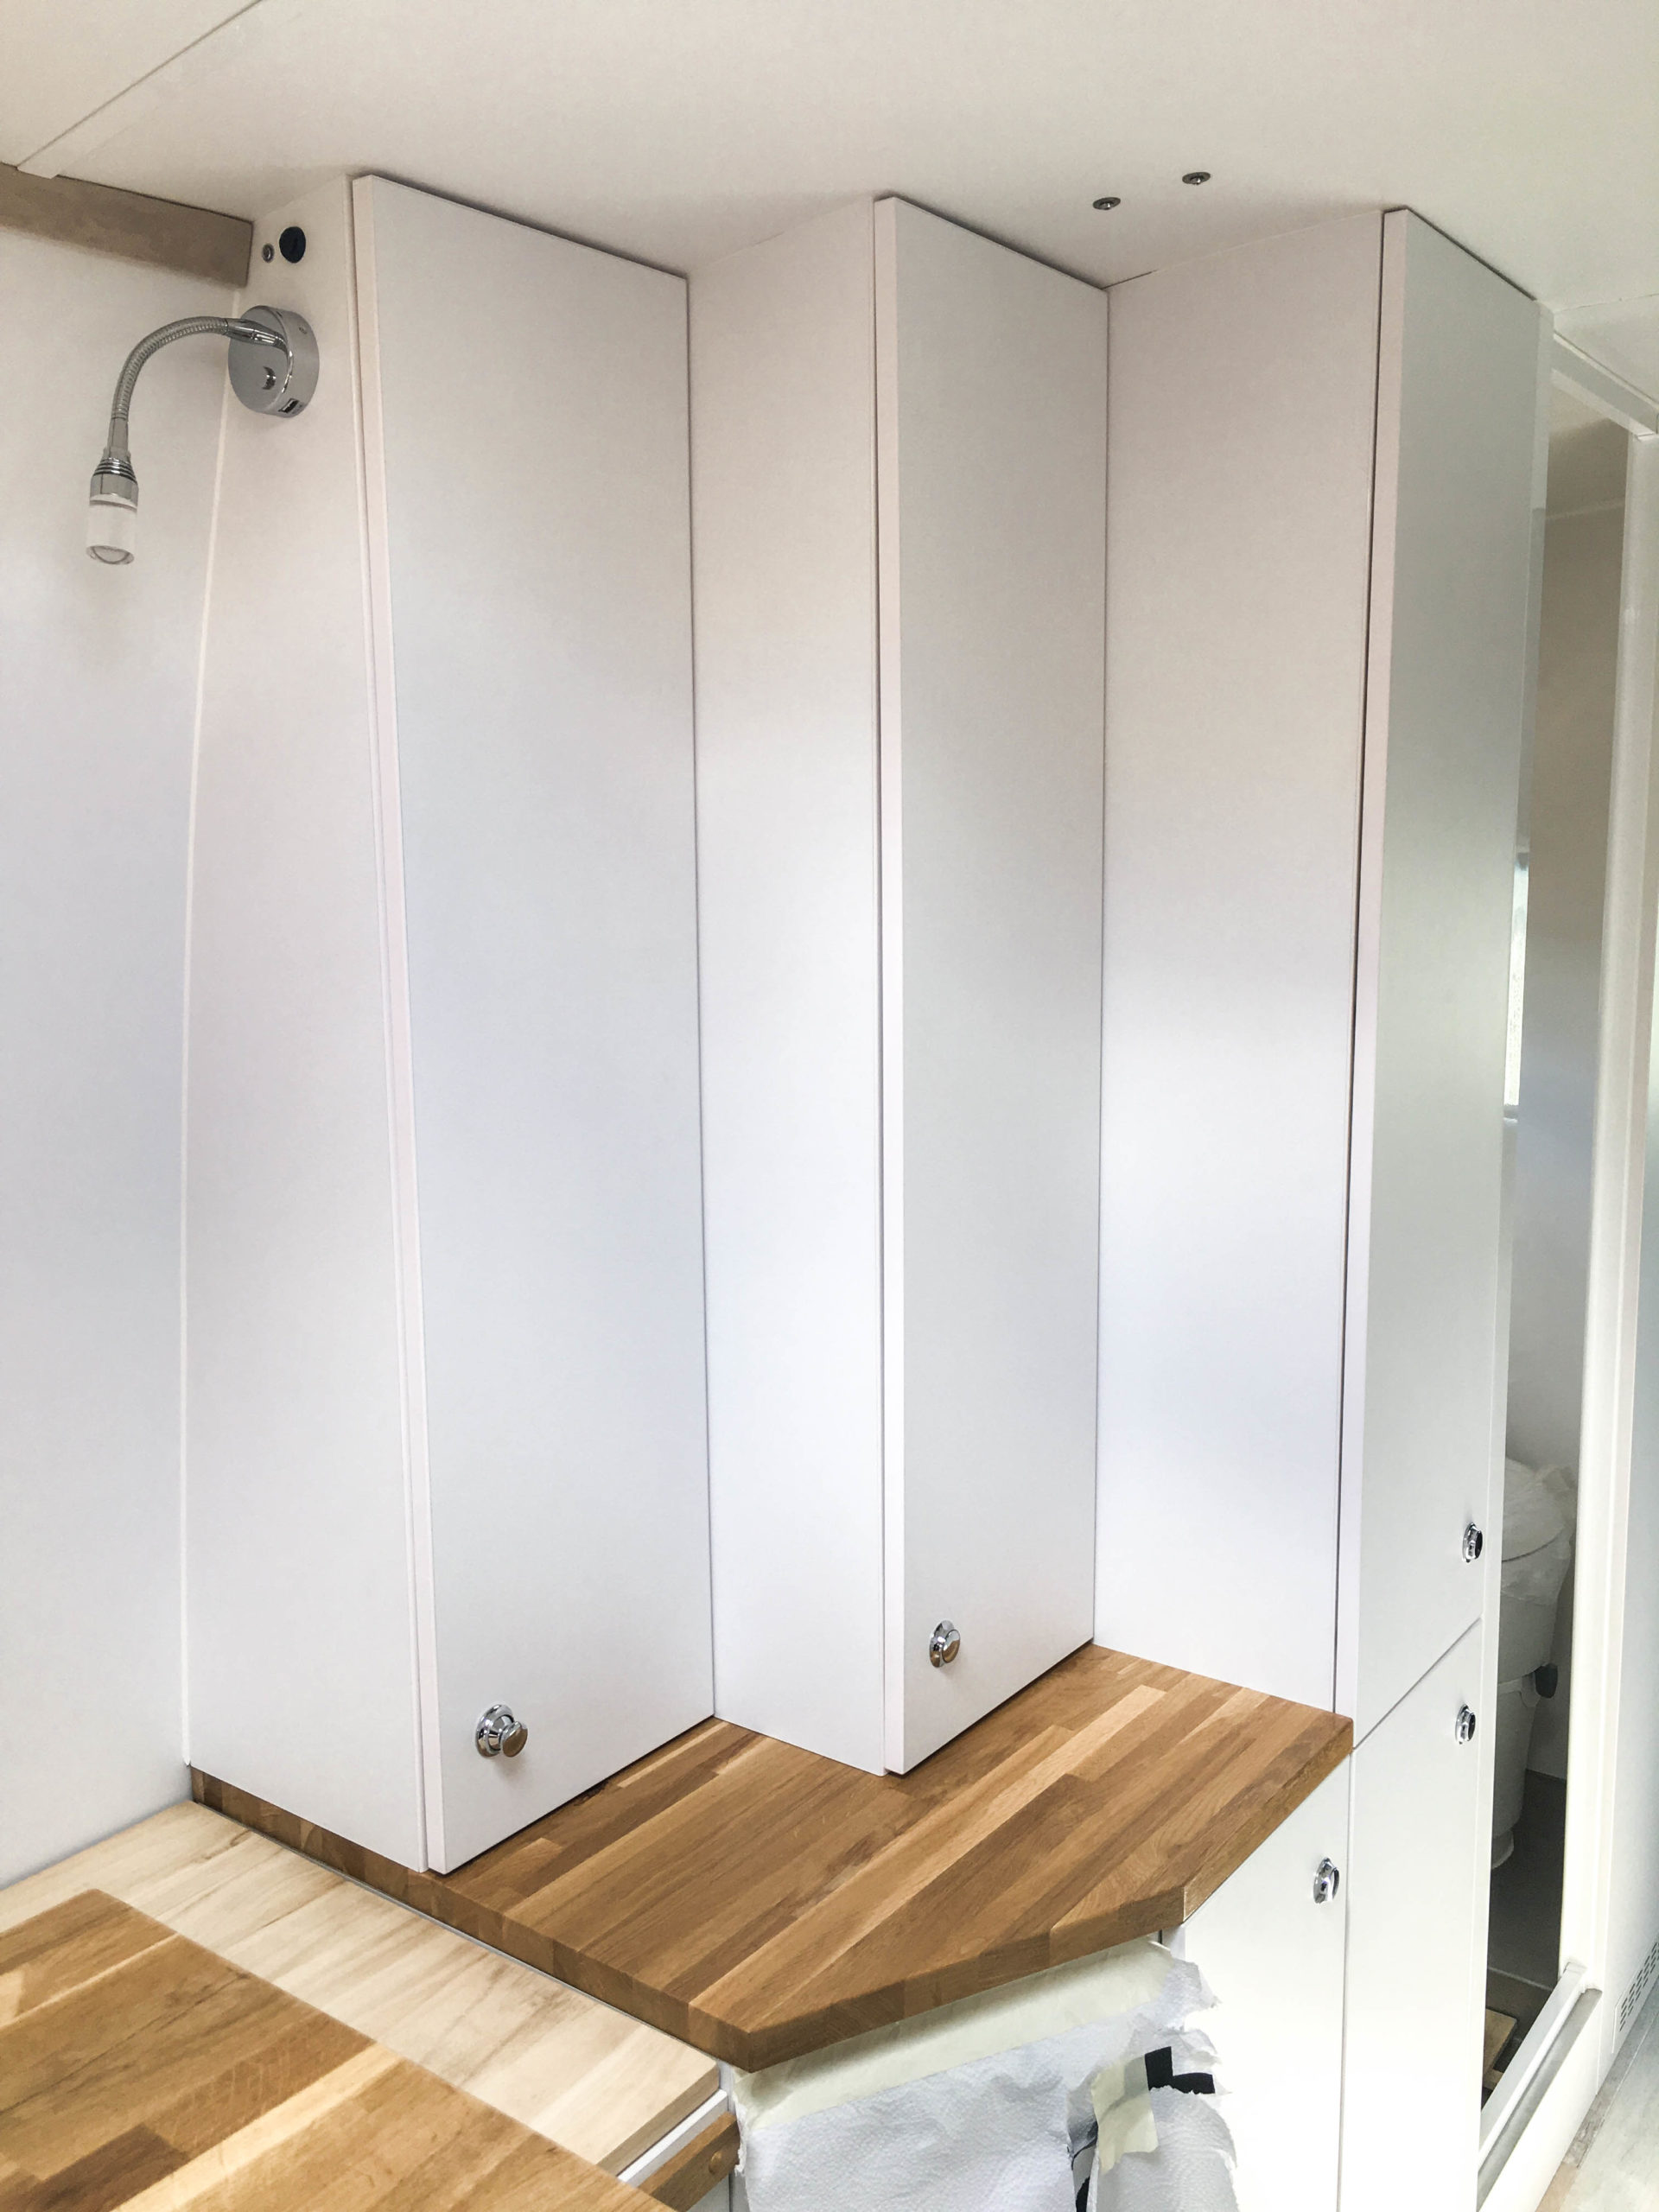
Following are the two finished elements before the final installation! O2 has less depth than O1 and then O1 has less depth than the tall cabinet (H). With the different depths of the single elements we want to create an open, light feeling on the small space of the Sprinter.
This is the mounted closet with the primed and painted worktop!
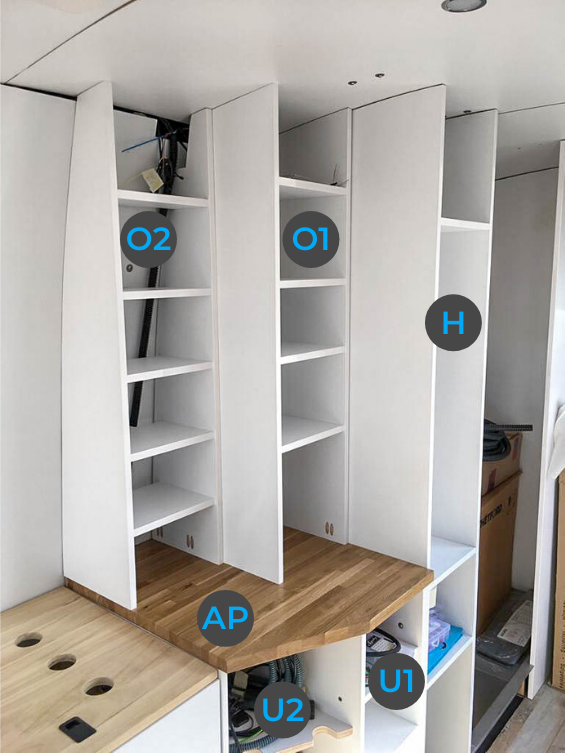
The single elements are all screwed to each other (with furniture connectors) as well as with the vehicle. Despite the solid mounting to the vehicle, the wood of the furniture is still flexible enough to adjust to the movement while driving.
The cabinet doors
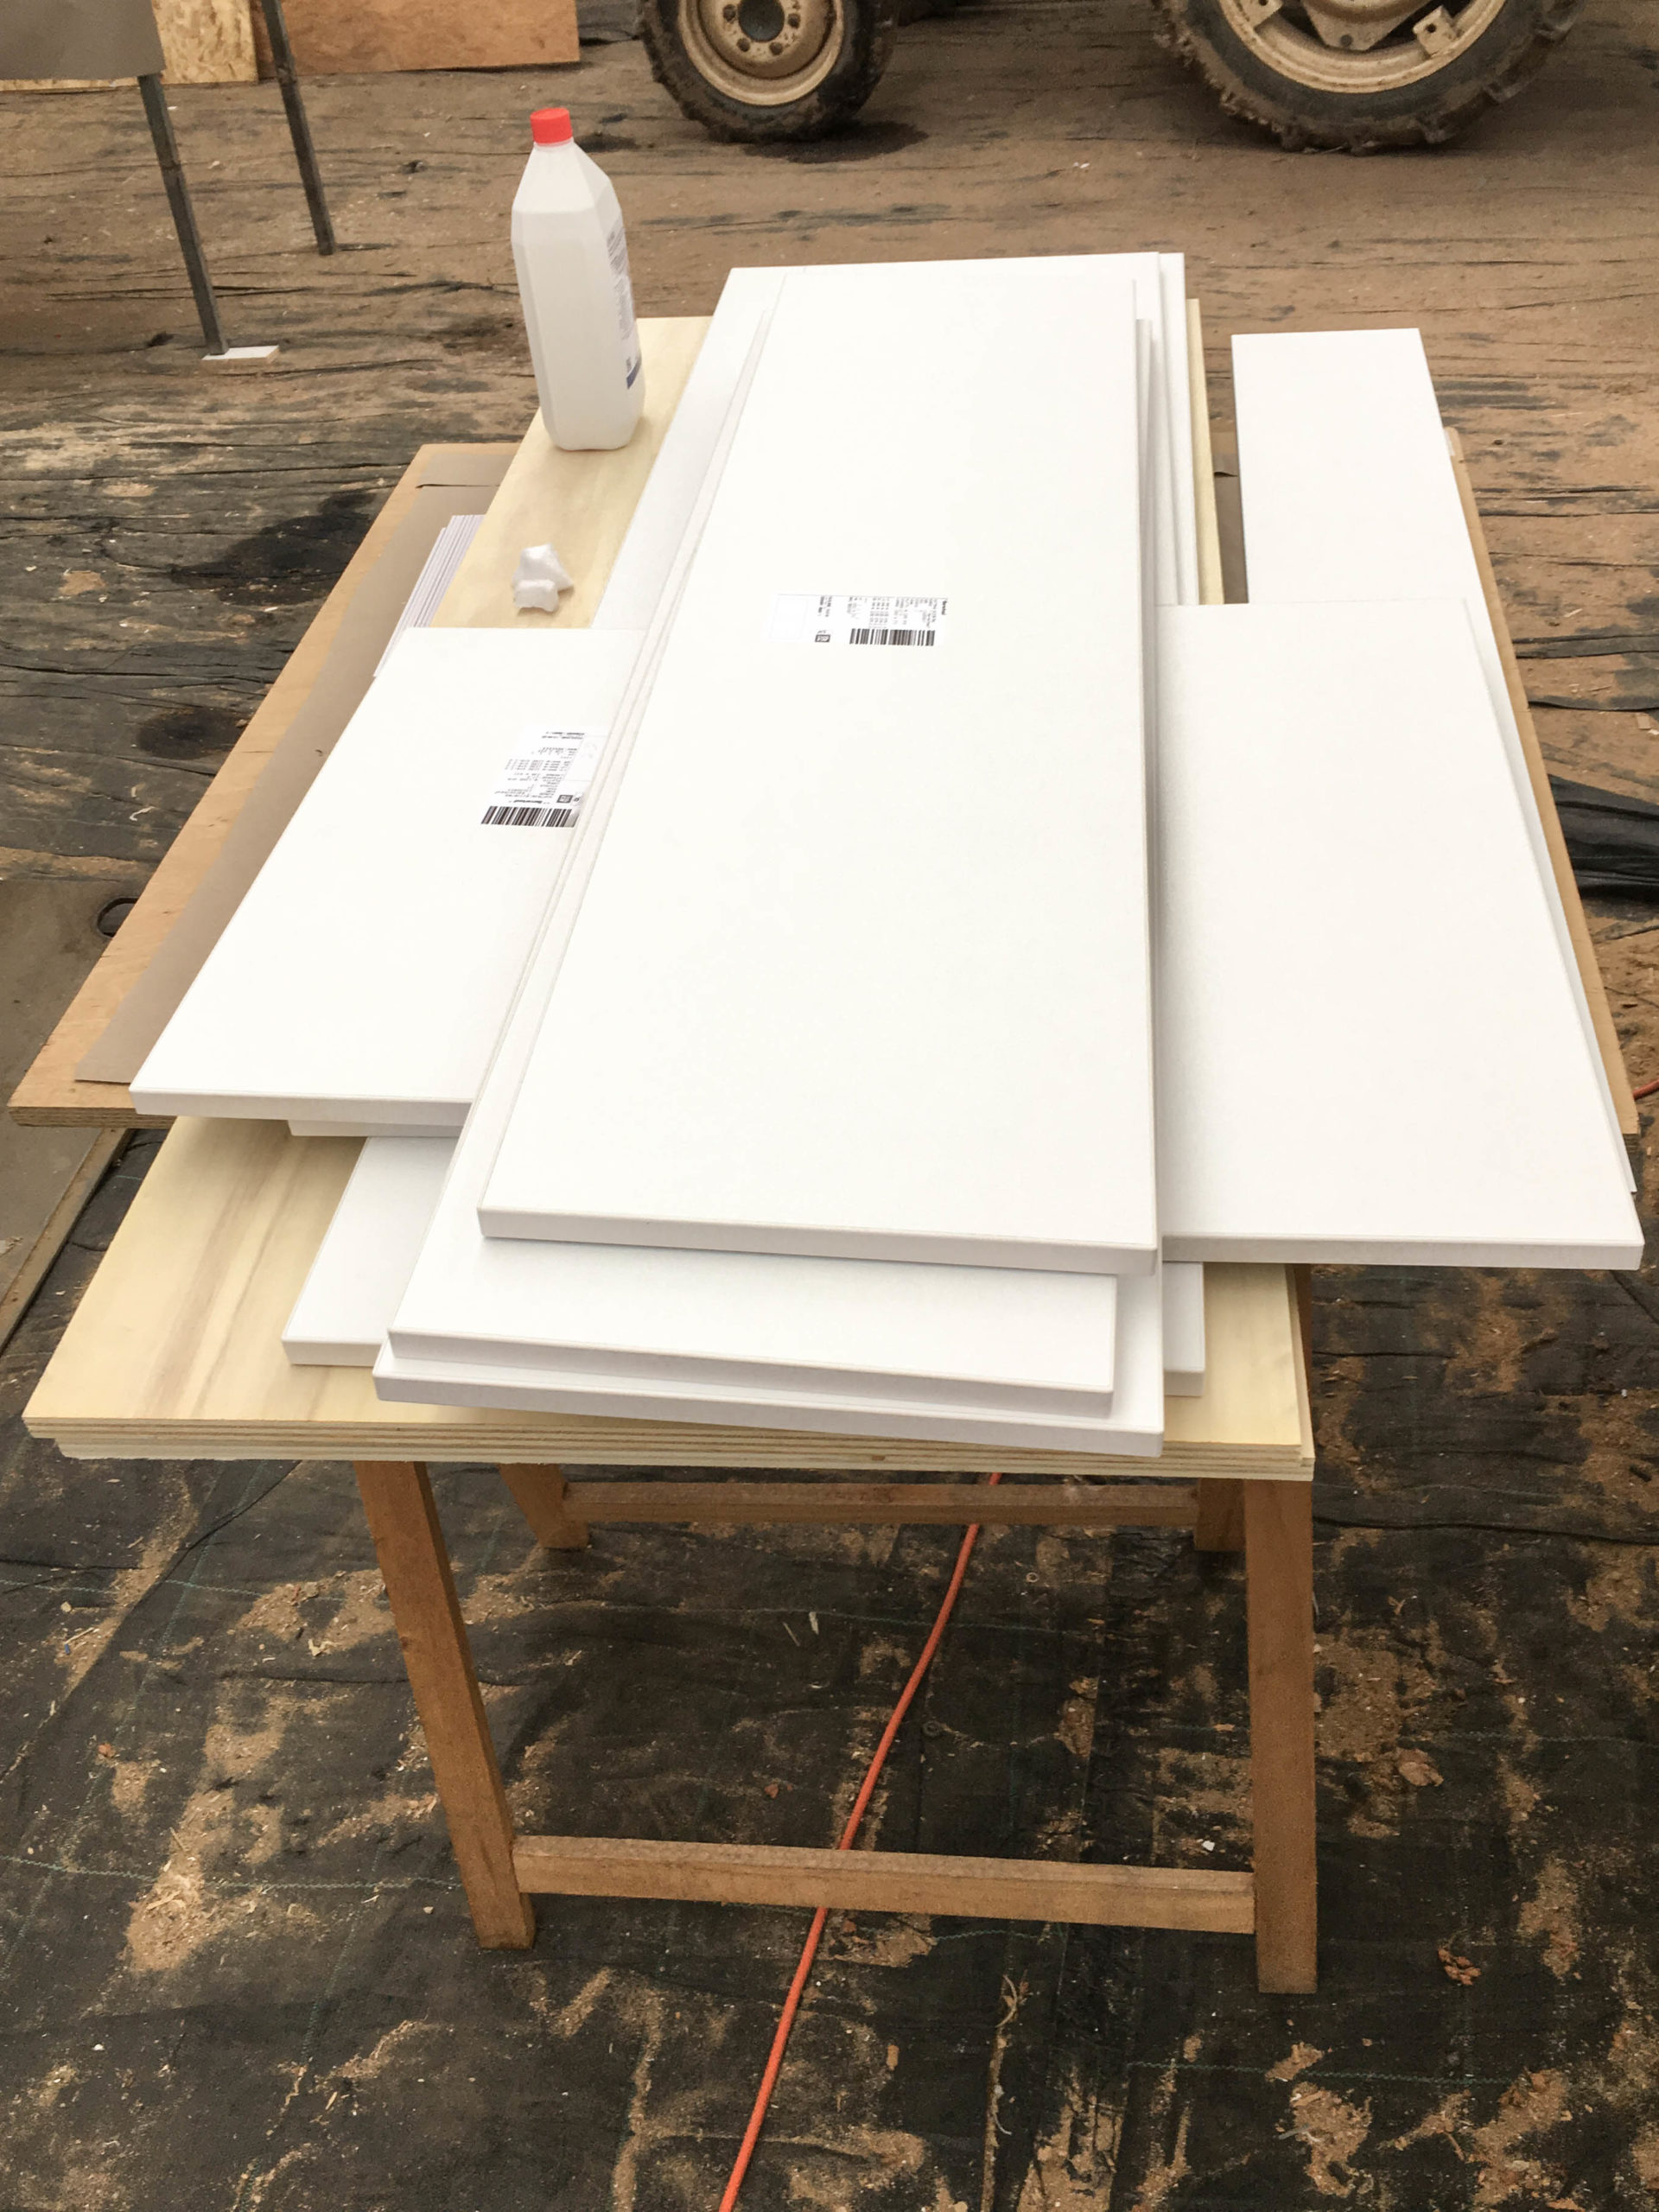
As we already mentioned, Banova-plywood only had a limited availability. Unfortunately the wood was not available in the planned thickness of 15 mm for our doors. As an alternative we chose poplar plywood. We measured the size of the doors and had them cut and HPL coated as well as edged at the hardware store.
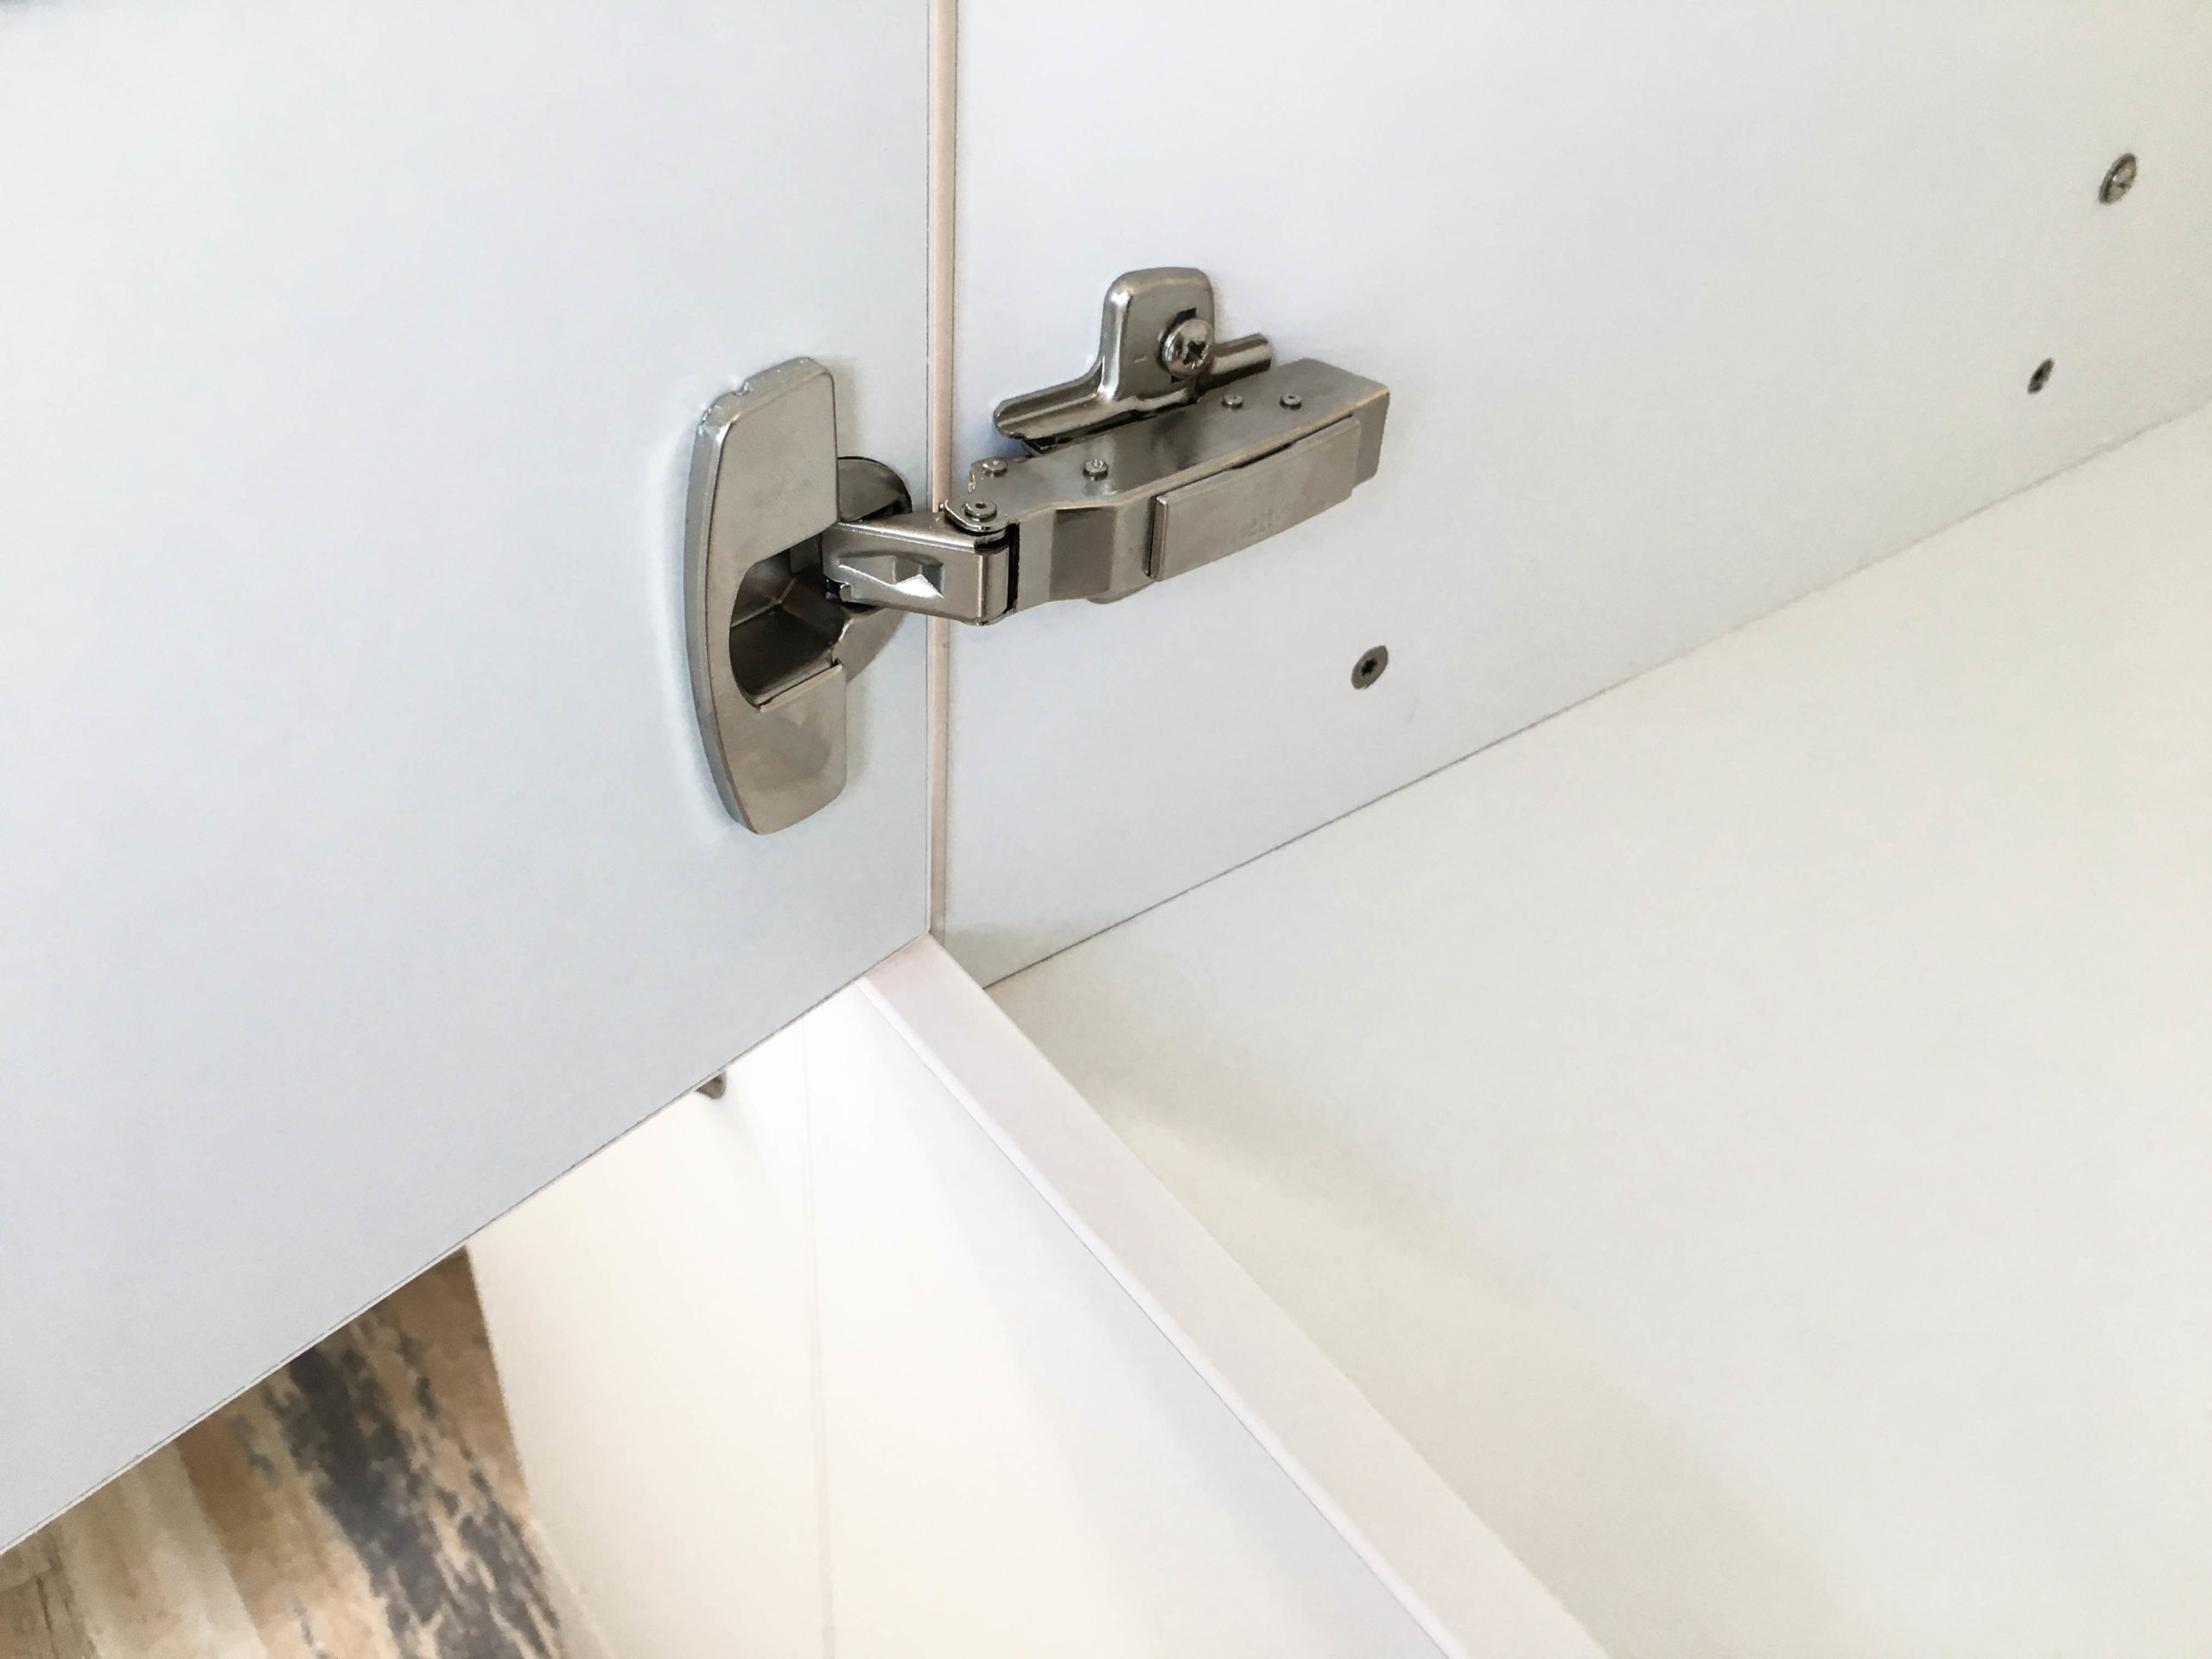
For the hinges we chose the ones with soft close so the doors will close smoothly and not slam shut which will go easy on the wood and the furniture longterm. For an easy installation of the hinges we highly recommend the marking-off-template!
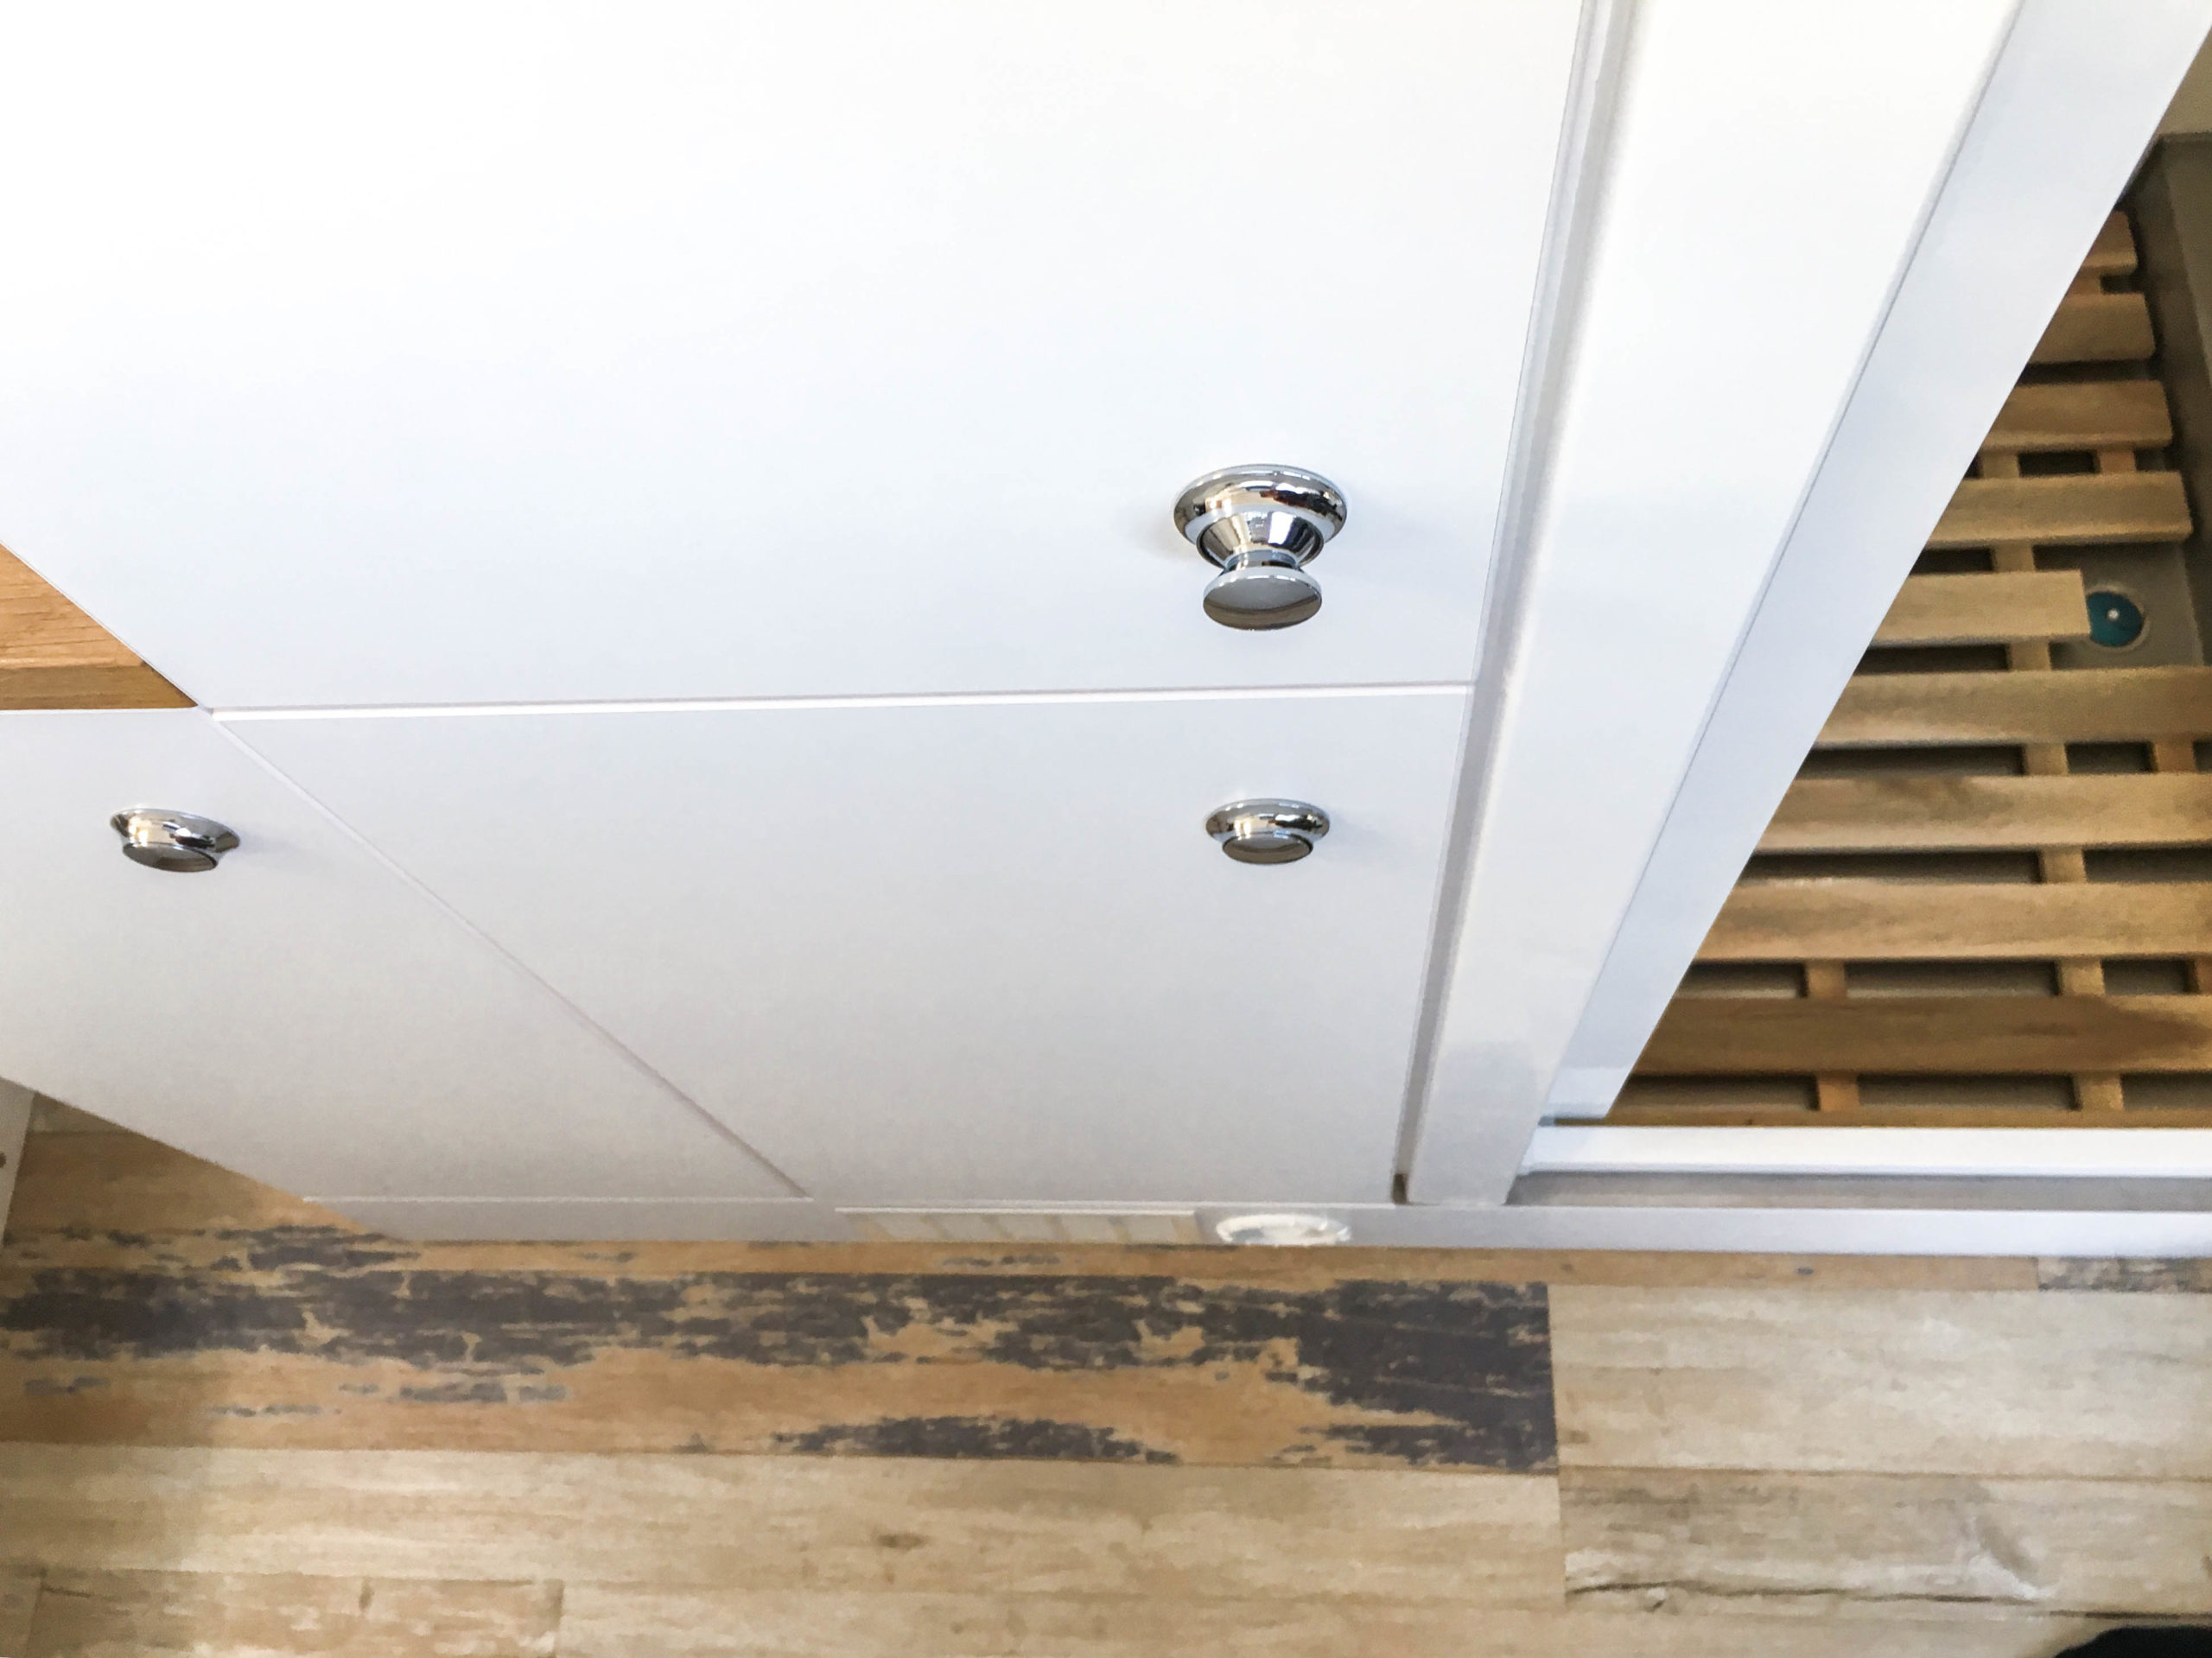
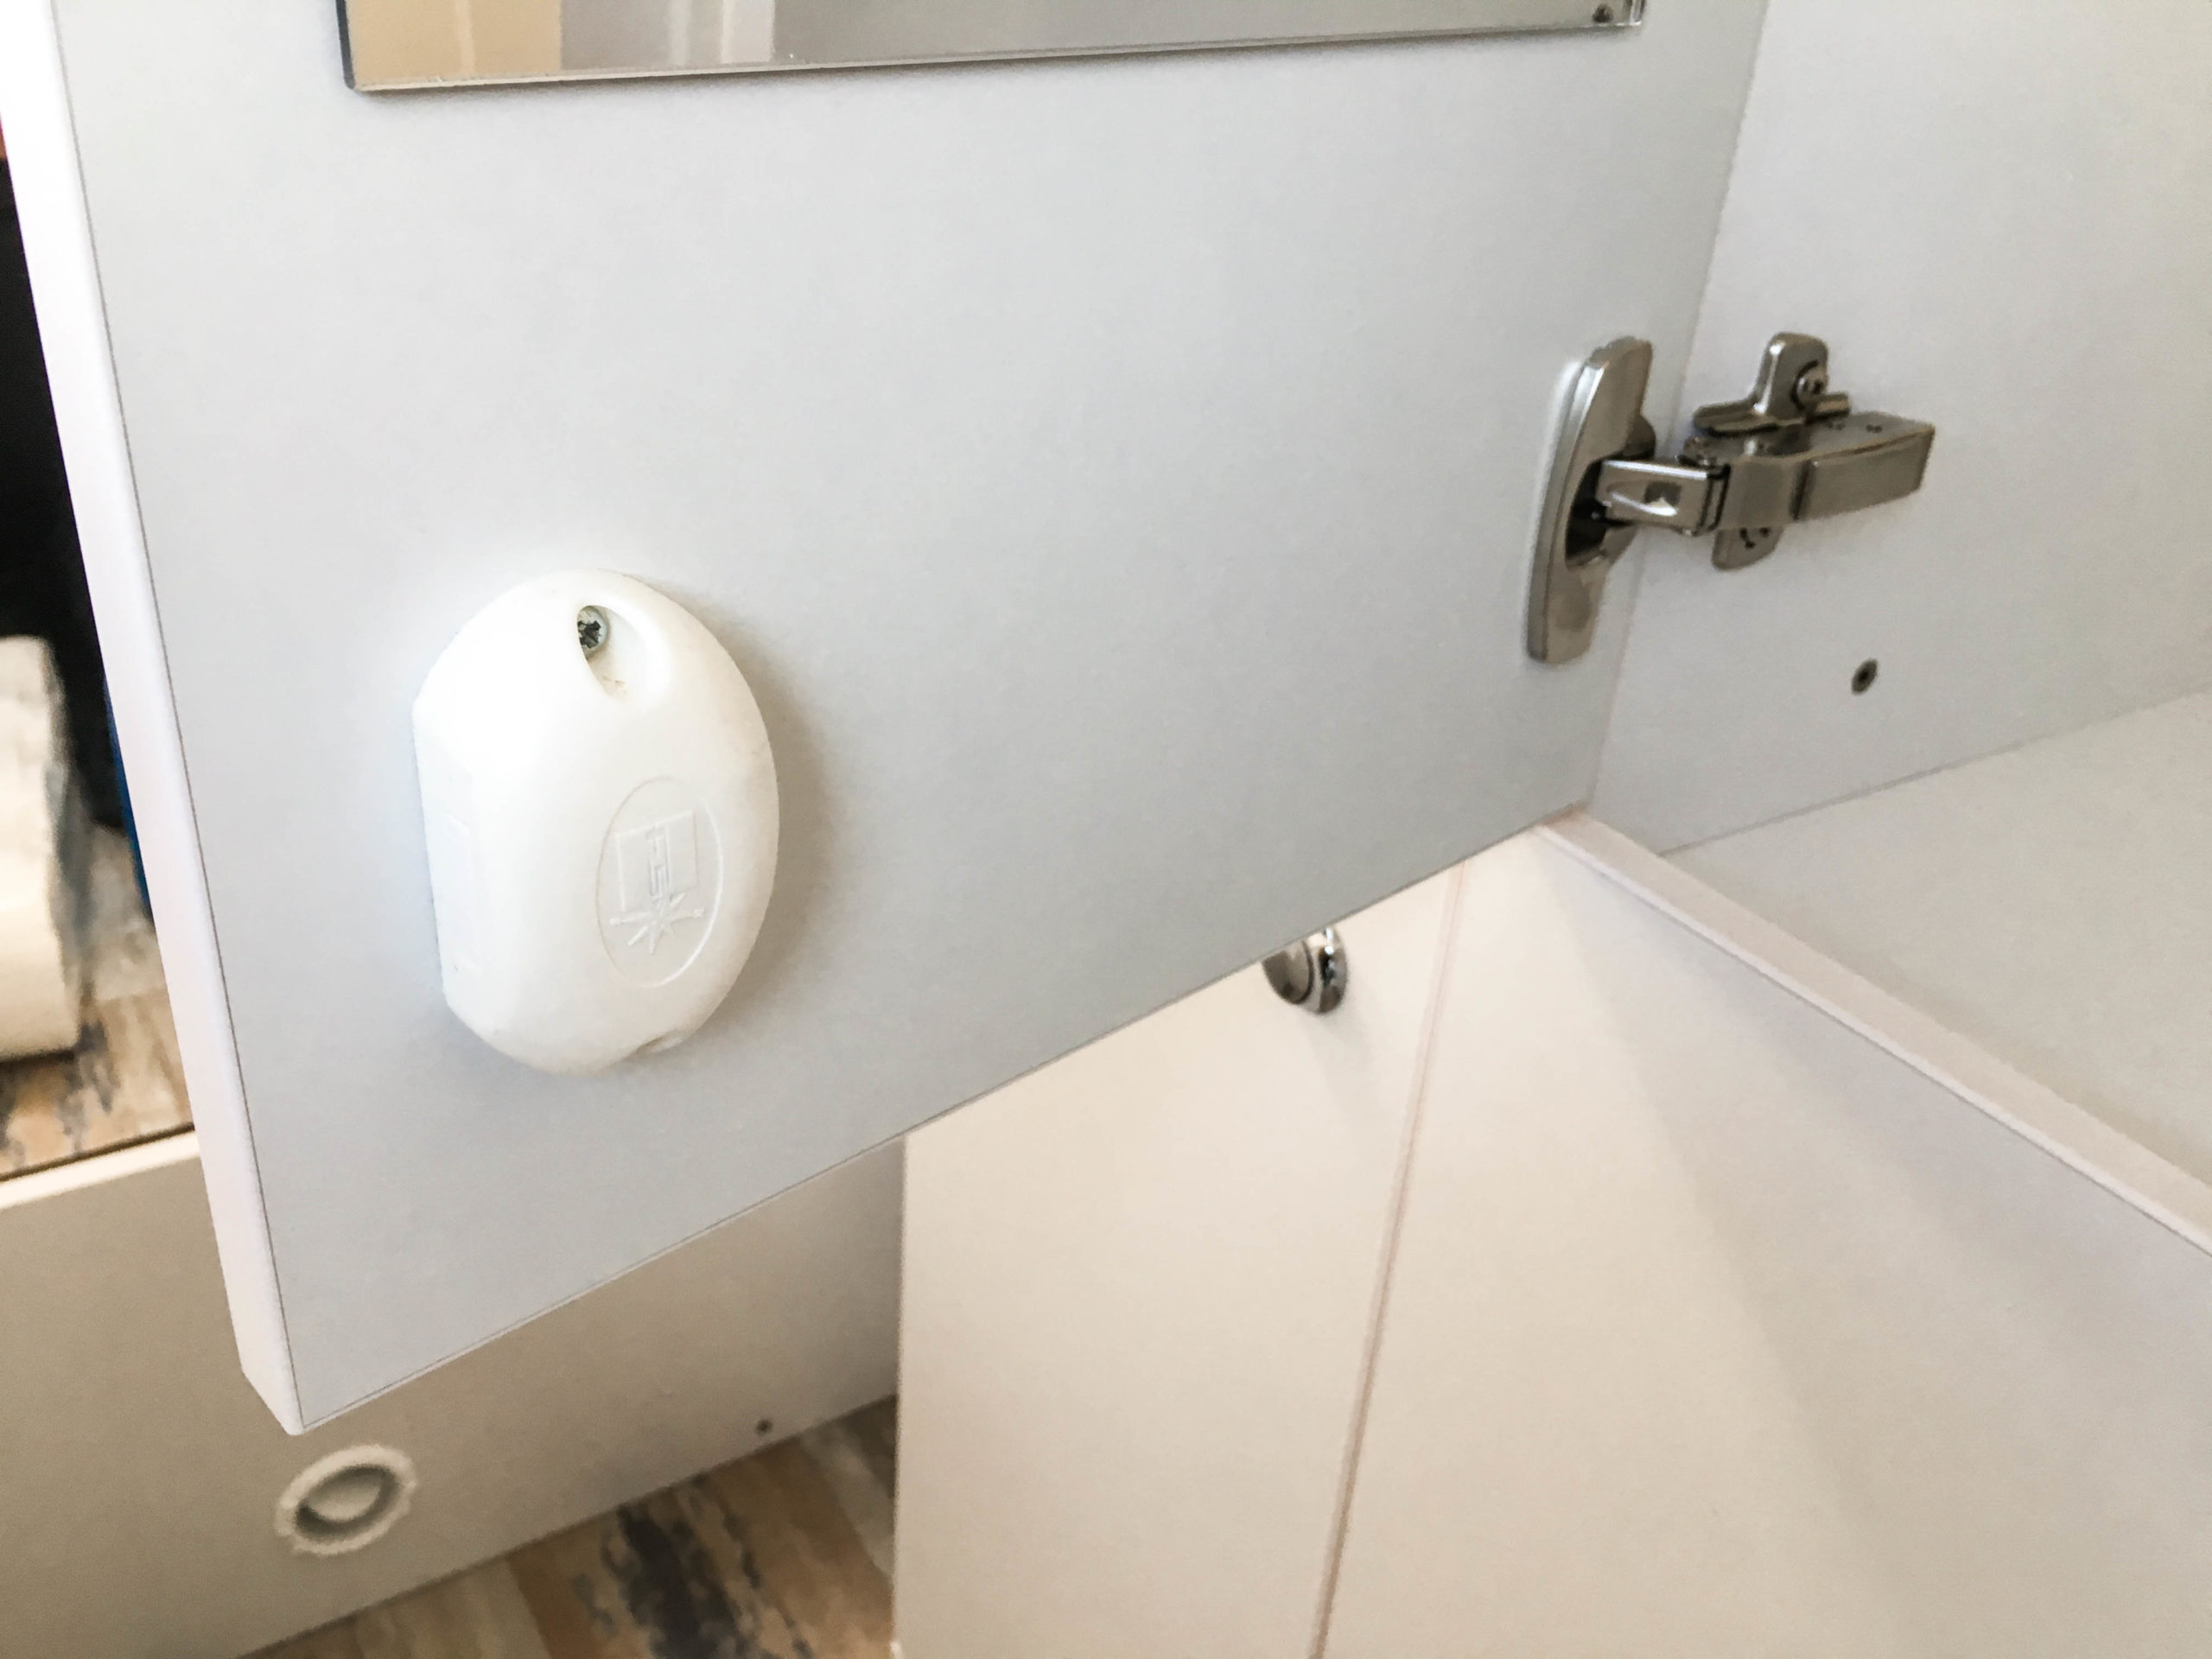
To open and close the cabinets we chose push-lock-buttons. This way the door swill stay shut while driving and won’t open by the movement and all things will safely stay in the cabinet.
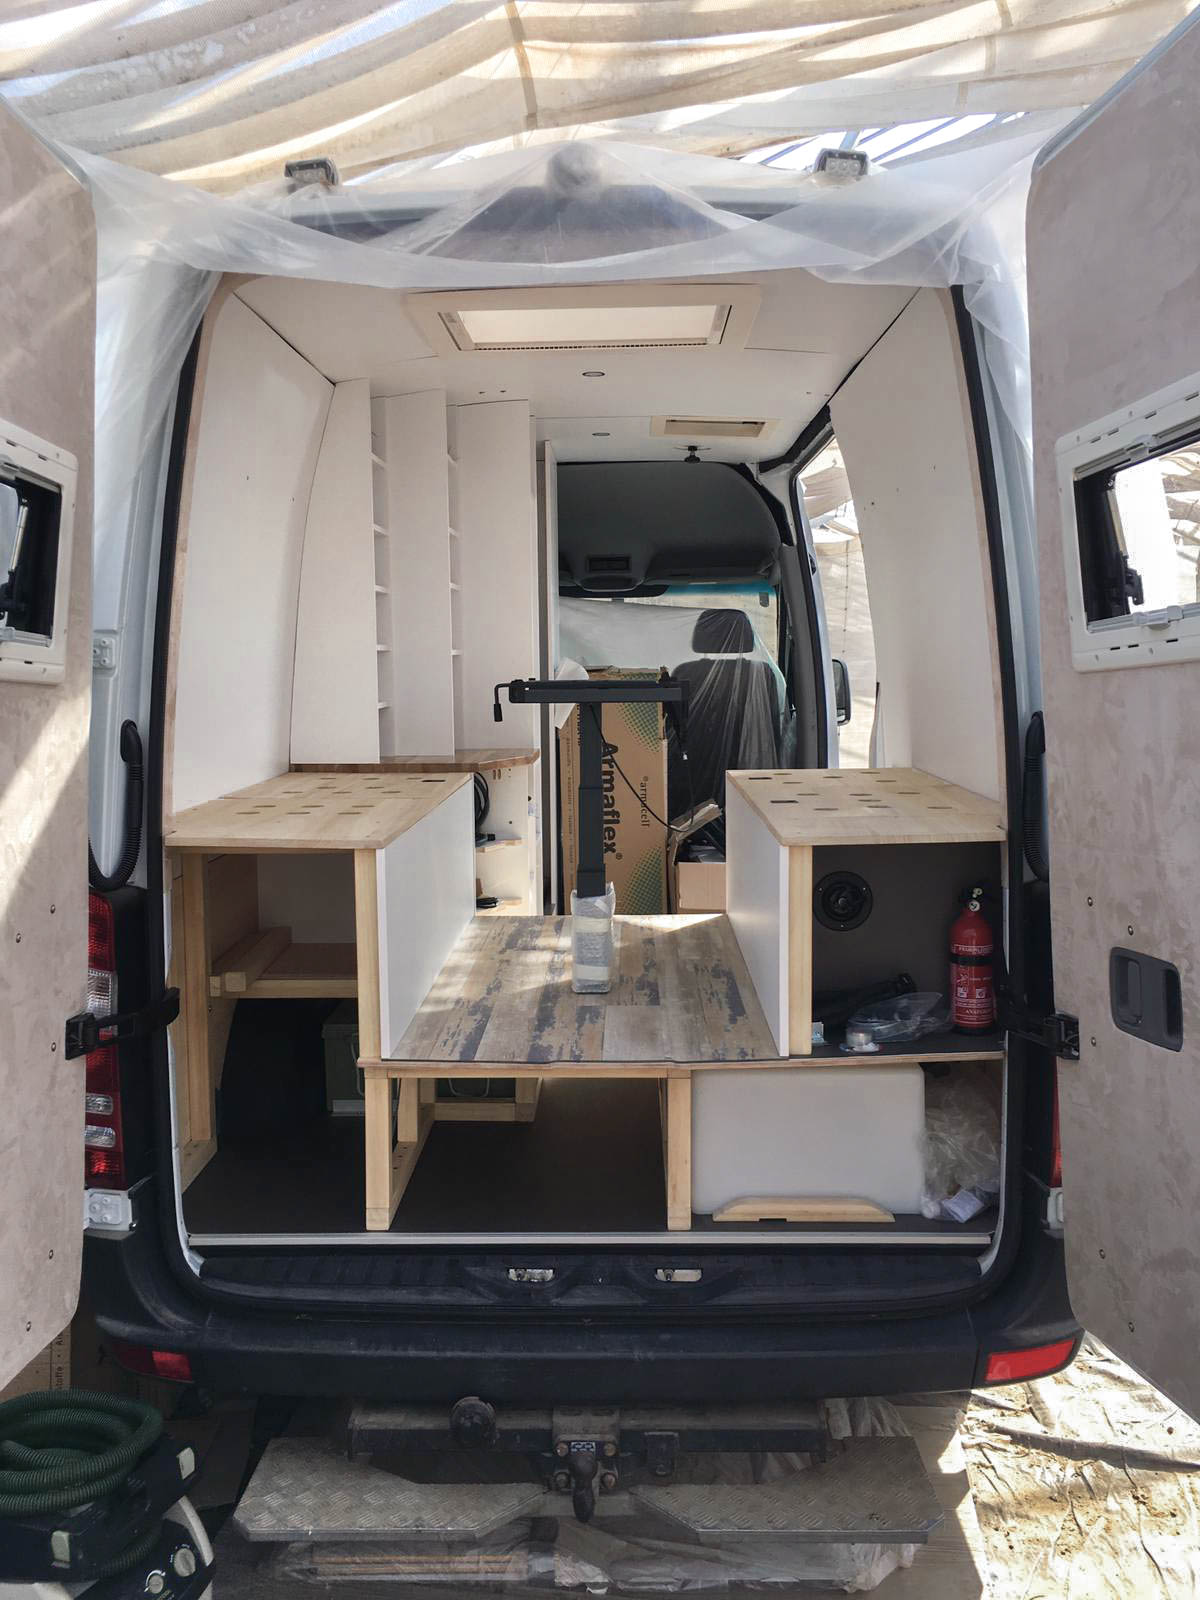
To finish off the cabinet we made the front for the diagonal lower left cabinet (U2) and added 1 main light switch, 2 230V power outlets that are connected to the inverter, and the operating panel for the heater (Truma Combi D6).
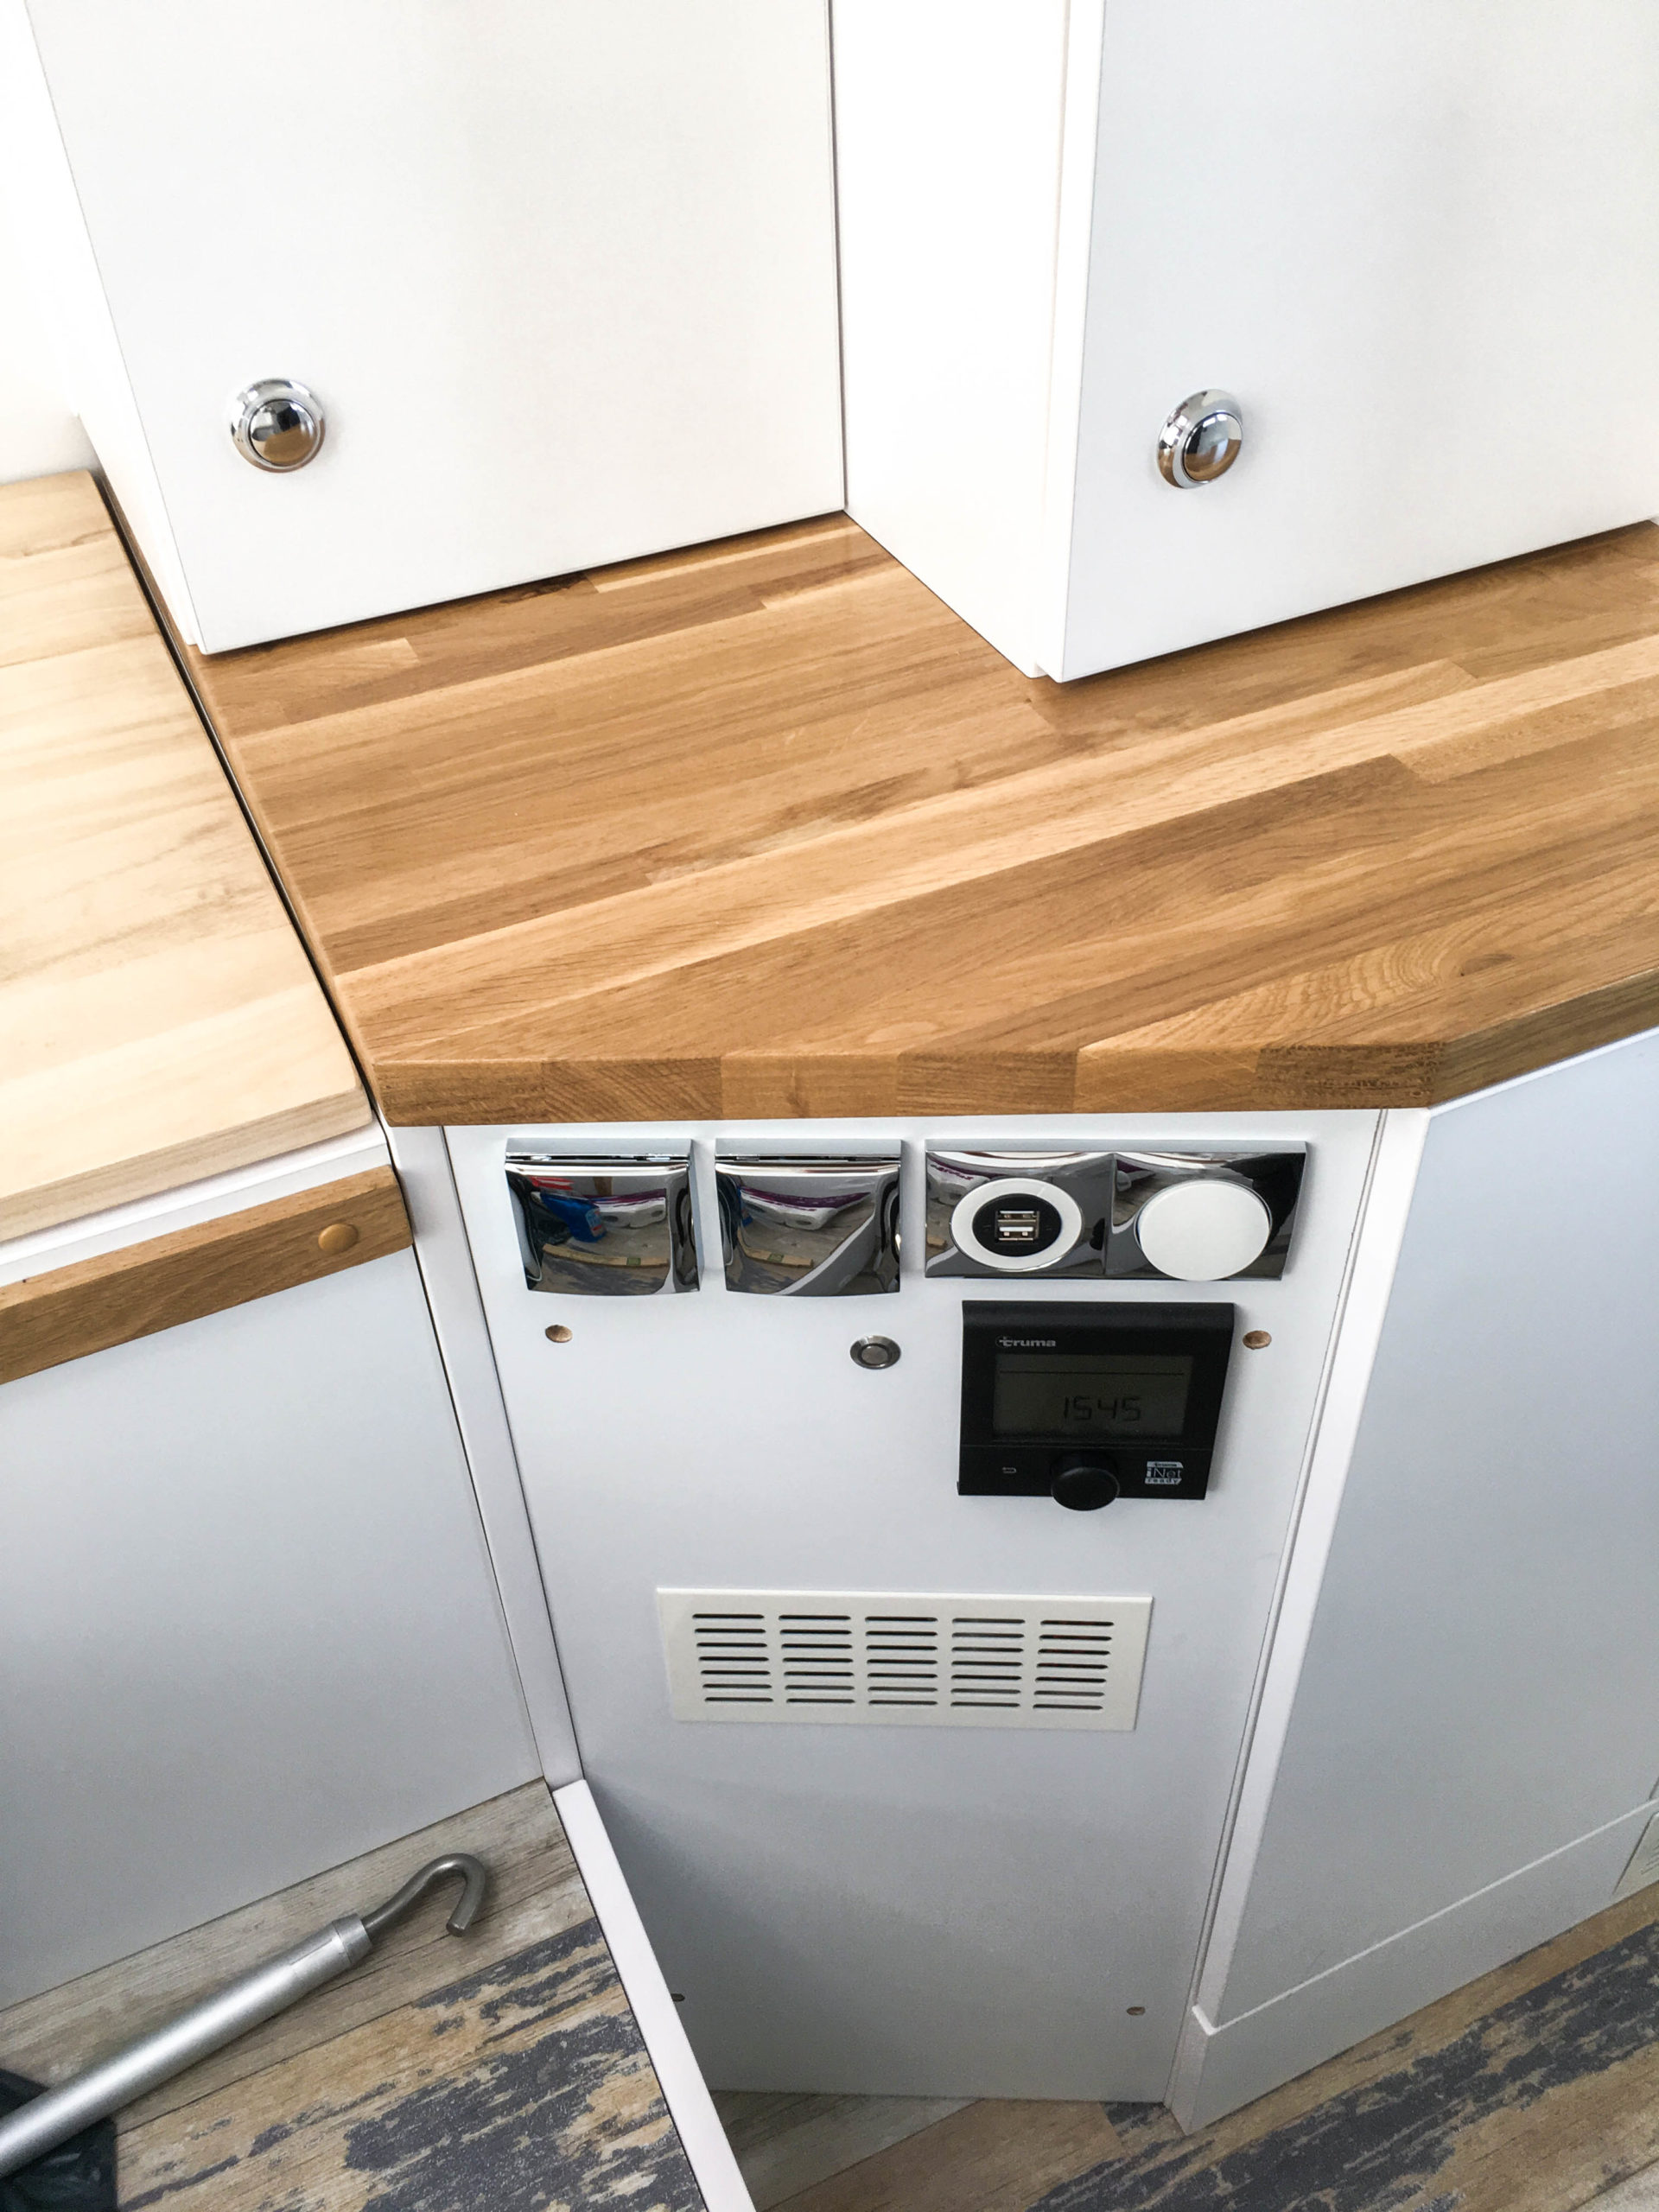
It looks just like the drawing! 😉
Read more about the tall cabinet, lower cabinets and worktop in Part 1/2 about the closet!
